
Delicious Honey Divinity With Chopped Pecans

Delicious Honey Divinity With Chopped Pecans

The holidays just wouldn't be the same at my house without a batch of homemade divinity. This sweet treat is decadent, light as air, and absolutely delicious!

If you encounter challenges while preparing my divinity recipe, please refer to the end notes for troubleshooting tips. The technique I am sharing is effective for all divinity recipes that do not yield the desired results.

Ingredients:

• 2 cups of granulated Splenda or granulated white sugar

• 5 tablespoons and 1 teaspoon (1/3 cup) of premium honey

• 5 tablespoons and 1 teaspoon (1/3 cup) of water

• 2 egg whites, beaten to soft peaks

• 1 1/2 cups of chopped pecans, chopped Maraschino cherries, or chocolate chips

Instructions:

Here's a fun and easy recipe for making delicious divinity candy!


First, grab a heavy-bottomed pan and mix together granulated Splenda or sugar, honey, and water. Boil the mixture until it reaches a hard ball stage. To test if it's ready, drop a small amount of the syrup into cold water; it should harden and keep its shape.


While the syrup is cooking, beat 2 egg whites in a glass bowl until they form soft peaks. If you don't have a mixer, you can use a wooden spoon. It'll just take a bit longer, but that's how they used to make candy back in the day!


Pour the hot syrup over the beaten egg whites, and beat the mixture for 20 to 25 minutes until the divinity loses its glossiness. Stir in some chopped pecans, Maraschino cherries, or chocolate chips.


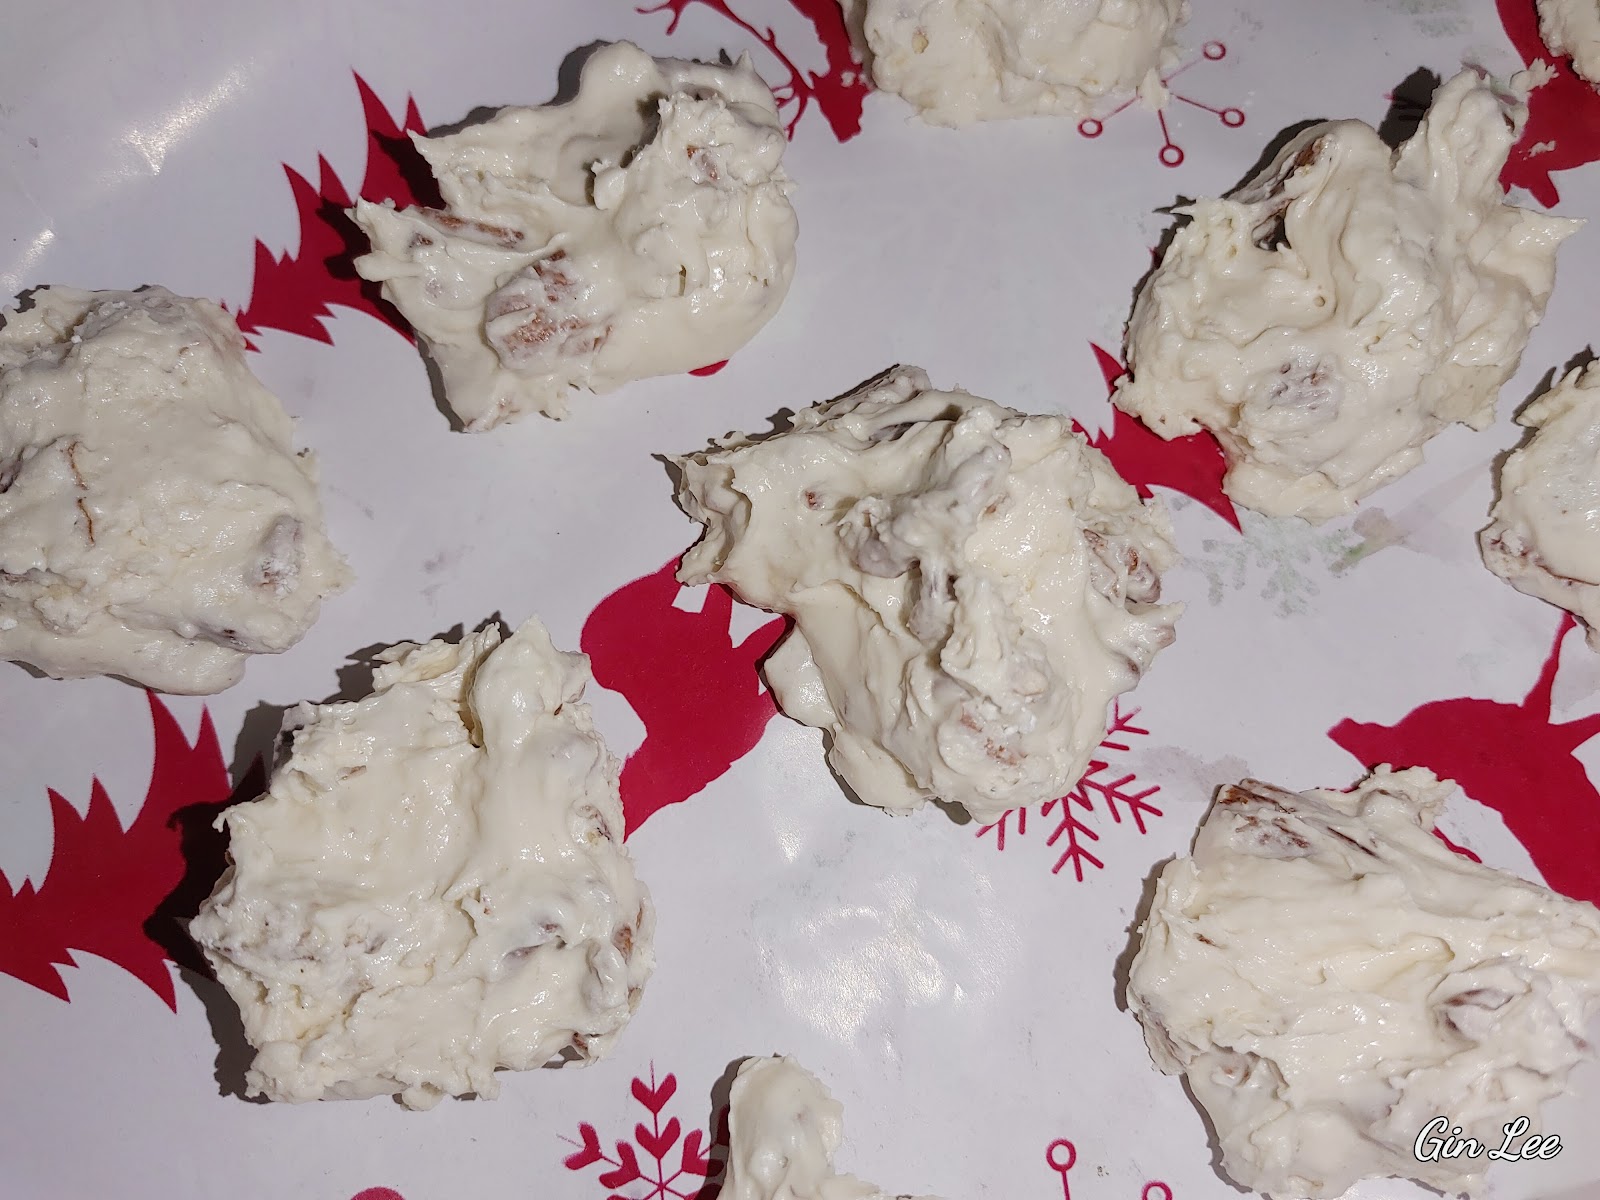
Drop spoonfuls of the divinity onto wax paper and let it harden. Once it's set, transfer it to an airtight container for storage.


If your divinity doesn't turn out quite right, don't worry! Just pop it in the microwave until it starts to swell, then mix in half a cup to 1 cup of powdered sugar and freeze it for about 10 minutes. Scoop spoonfuls of the divinity out on waxed paper and let it harden. This trick should fix any failed divinity recipe. 


Enjoy! Happy Holidays!🌲⛄☃️❄️🌲☃️⛄❄️


Popular posts from this blog

Growing Vegetable Plants in Rockwool Cubes

Growing Vegetable Plants in Rockwool Cubes Hey there, fellow gardeners! Today we're going to talk about a cool way to grow your own vegetables using rockwool cubes. It may sound fancy, but it's actually pretty simple and fun. Let's dive in! What You'll Need: First things first, you'll need some rockwool cubes . These are like little sponges that help your plants grow strong and healthy. You'll also need some vegetable seeds, a tray to hold the cubes, and water. I personally use these hydroponic grow trays with dome lids. Step 1: Soak the Cubes Before you plant your seeds, you'll need to soak the rockwool cubes in water. This helps them absorb moisture and provides a good environment for your plants to grow. Step 2: Plant Your Seeds Once your cubes are nice and soaked, it's time to plant your seeds. Make a little hole in the top of each cube and drop a couple of seeds in. Some seeds are so tiny and I generally end up planting more than two in each cube. ...

Internet Troubles: A Quick Update

Internet Troubles: A Quick Update What’s Going On? Hey everyone! I wanted to take a moment to share something that’s been really frustrating for me. Since early March, my internet has been acting like it’s on vacation—totally gone! I’ve tried so many times to share new posts with you all, but every time I hit “upload,” it just doesn’t work. It’s like my internet is playing hide and seek, and it’s winning! My Struggles I’ve done everything I can think of to fix this problem. I’ve checked my connections, restarted my router, and even called my internet provider for help. But no luck! It feels like I’m stuck in a never-ending game of “Will It Work?” and the answer is always “No.” Keeping It Simple Because of all this trouble, I’m keeping this post super simple. I can’t even add any cool photos right now because I’m not sure if it will upload. I just wanted to let you all know what’s been happening and why I haven’t been able to share more with you. Thanks for being patient with me!