
BBQ Boston butt in a Dutch oven

BBQ Boston butt in a Dutch oven

Today, I will be preparing a barbecue Boston butt in a Dutch oven on the stovetop. I will be using my homemade spicy BBQ sauce, but if you prefer non-spicy, you can also get the recipe for my original BBQ sauce on Newsbreak too. Both are delicious. So, let's get on with the main recipe!

Ingredients:

  • 1 Boston butt (the one I am cooking today is just under 6 pounds).

  • 2 tablespoons of steak sauce

  • 1 tablespoon of liquid smoke flavoring

  • 1 teaspoon of red pepper flakes

  • 2 teaspoons of onion flakes

  • 1 teaspoon of minced garlic

  • 1/2 teaspoon of fennel seeds (optional)

  • 1/2 teaspoon of coriander

  • 1-1/2 teaspoons of smoked paprika

  • 1/2 teaspoon of seasoning salt

  • 1 to 2 teaspoons of black pepper

  • 1 to 2 cups of water for the bottom of the pan, plus more if needed during cooking

Instructions:

First, if you want to, sear the outside of your Boston butt in a Dutch oven with a tablespoon of canola oil. I never do this step for mine.


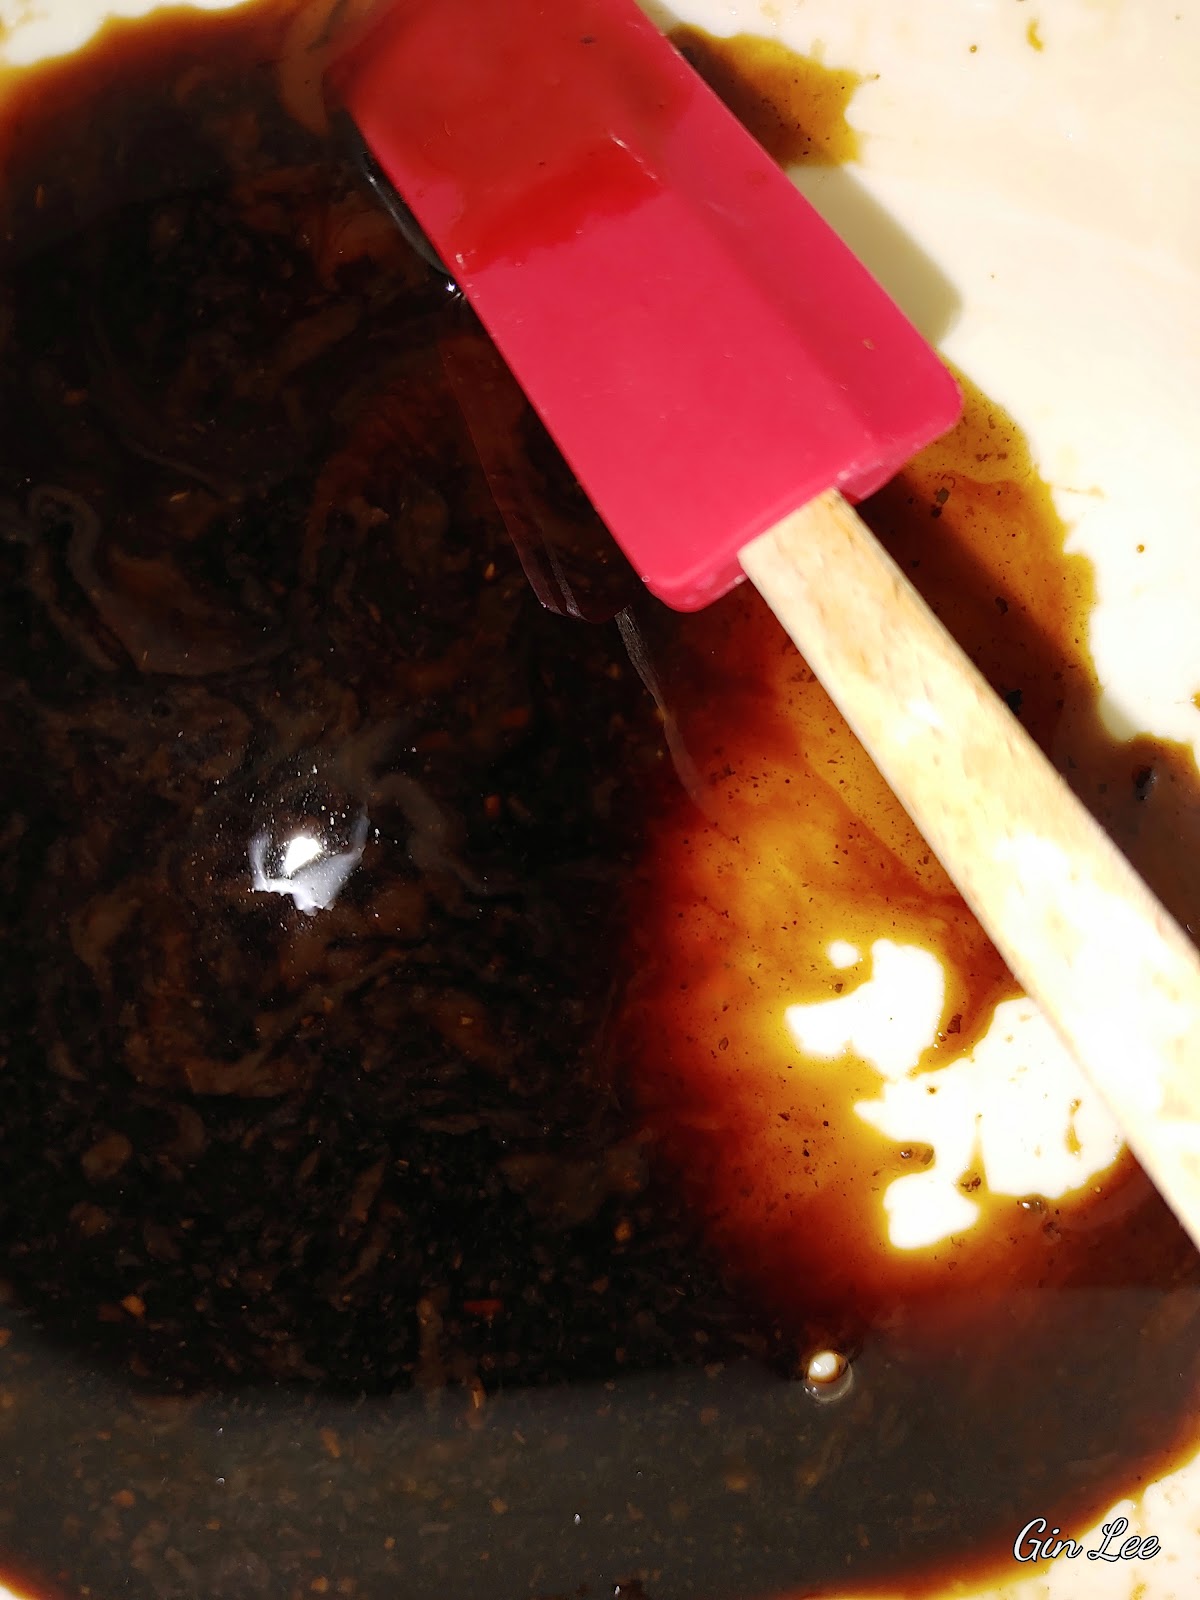
Mix 2 teaspoons of steak sauce and 1 tablespoon of liquid smoke flavoring together in a spice dish. (This isn't entirely necessary, but it helps to mix the flavors together.) Pour the mixture over the Boston butt and massage it into the meat with a spatula or your fingers. Through experimenting, I have found that doing this step not only adds extra flavor to the meat, but it also helps the seasoning mix adhere to it better.


Now, add the spices to a spice dish and mix them well. Then sprinkle the seasoning mix over the Boston butt and massage it over the meat.


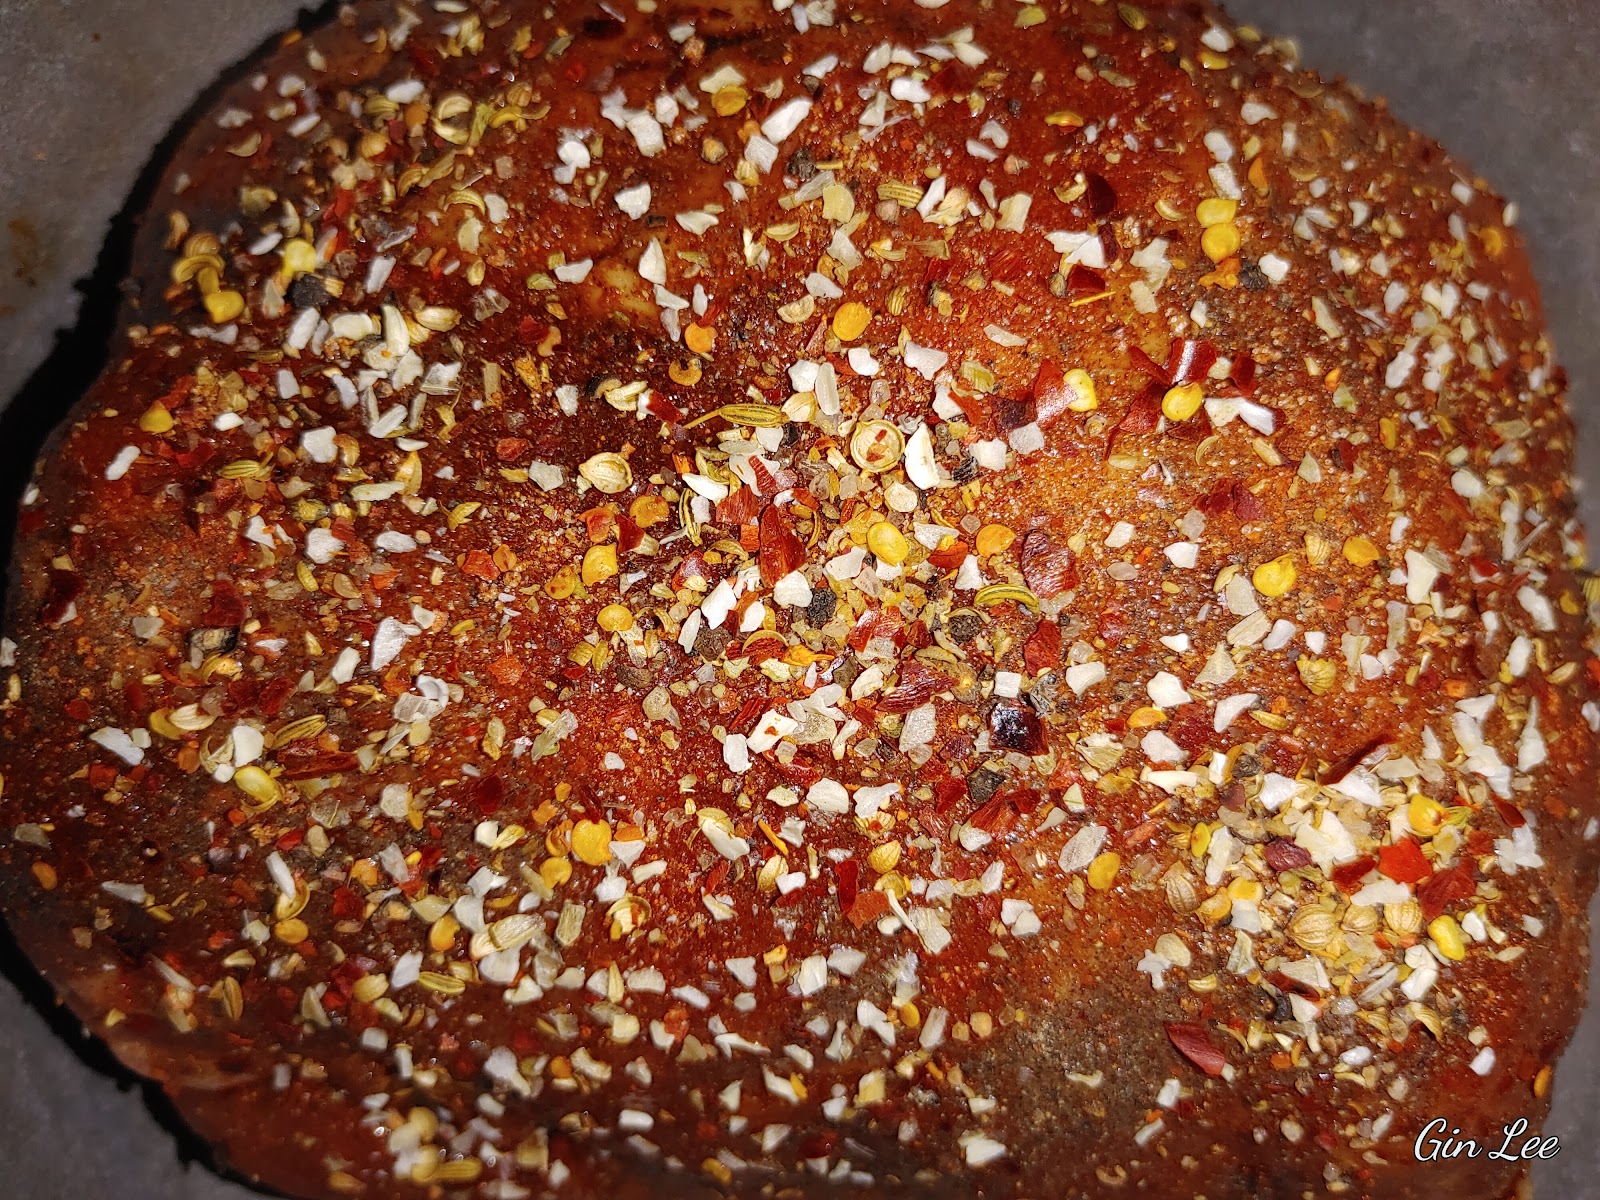
Next, place the seasoned Boston butt into a large Dutch oven (with the fat cap facing down on the bottom) and allow it to marinate for several minutes. Add the water to the pan and bring it to a boil over high heat.


Place a lid over the Dutch oven and lower the heat to simmer. The cooking time will vary depending on the size of your Boston butt. I slow-cooked mine for about five hours. (Smaller-sized Boston butts can be cooked in four to five hours.) While yours is cooking, check the water level occasionally and add more water as needed.


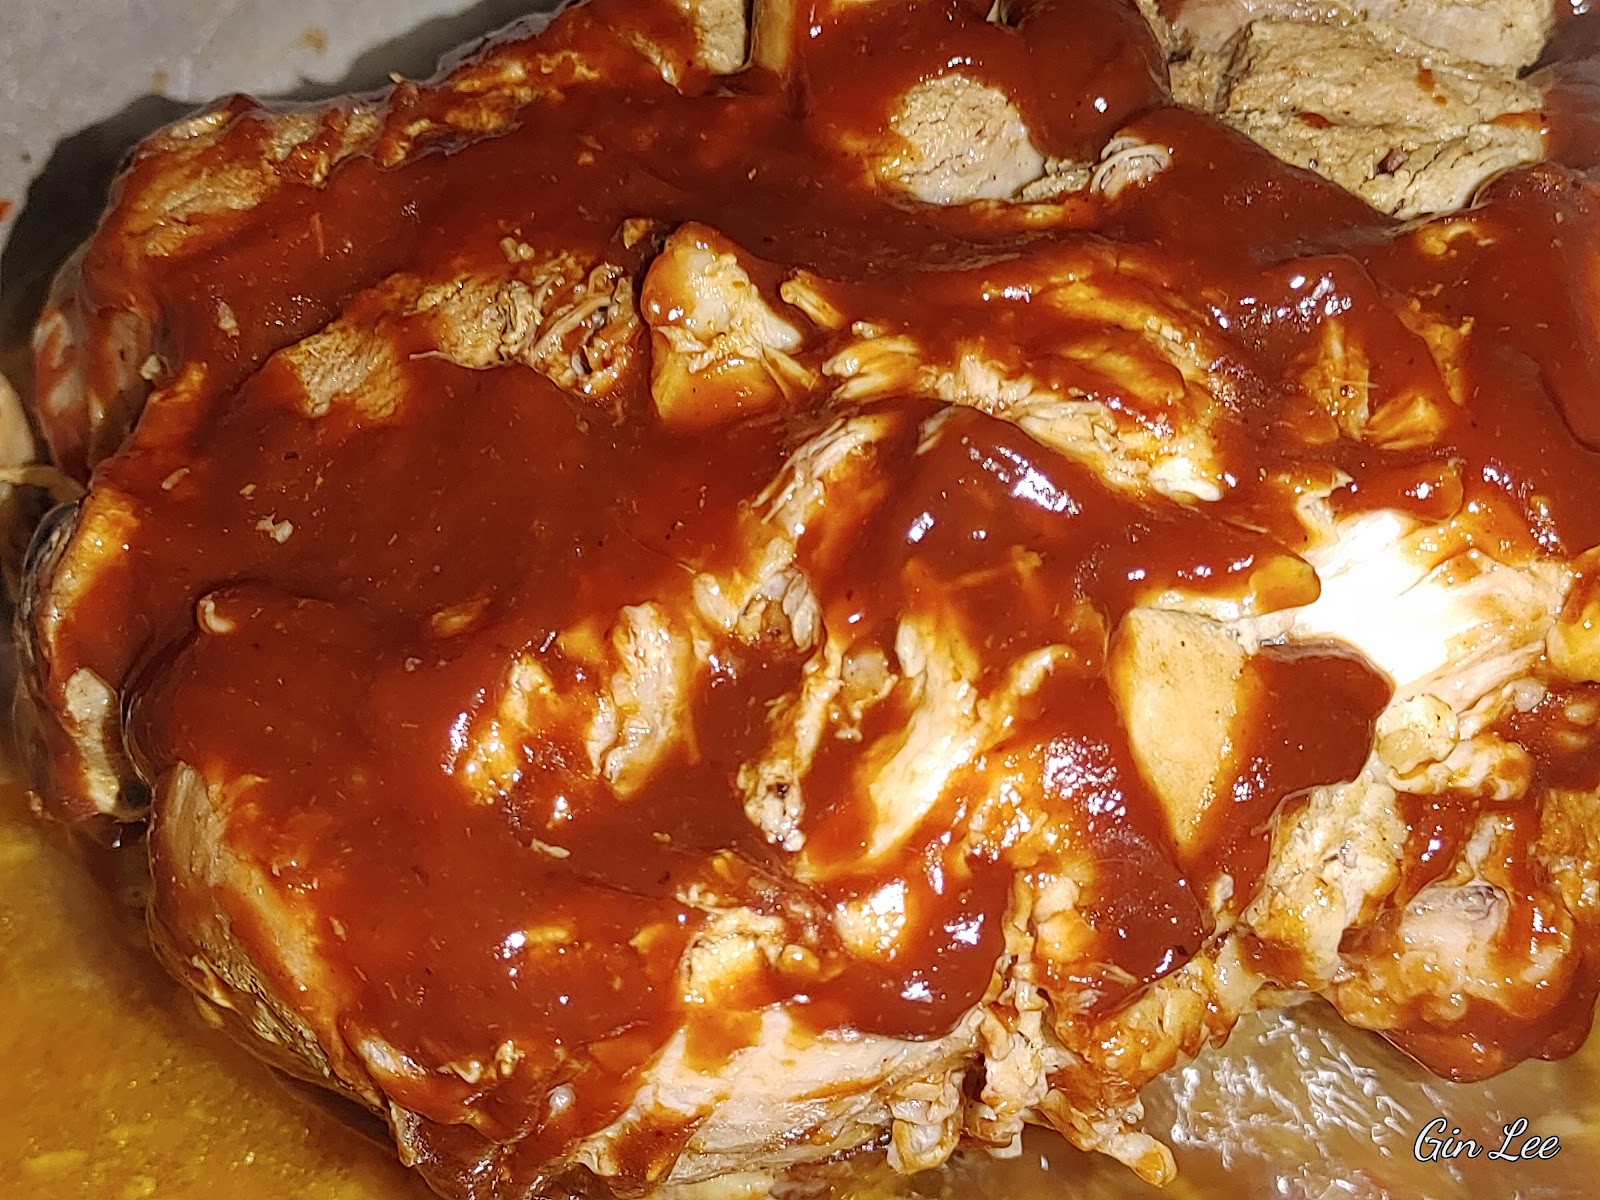
During the last half hour or so, I added about a cup of barbecue sauce. Once the meat is fully cooked and shredded, I will add more sauce. At this point, you can transfer your Dutch oven and finish cooking the Boston butt in a 375-degree oven to brown the outer edges if you'd prefer (with the lid off). I won't be doing that. I will continue to slowly cook mine on the stovetop.


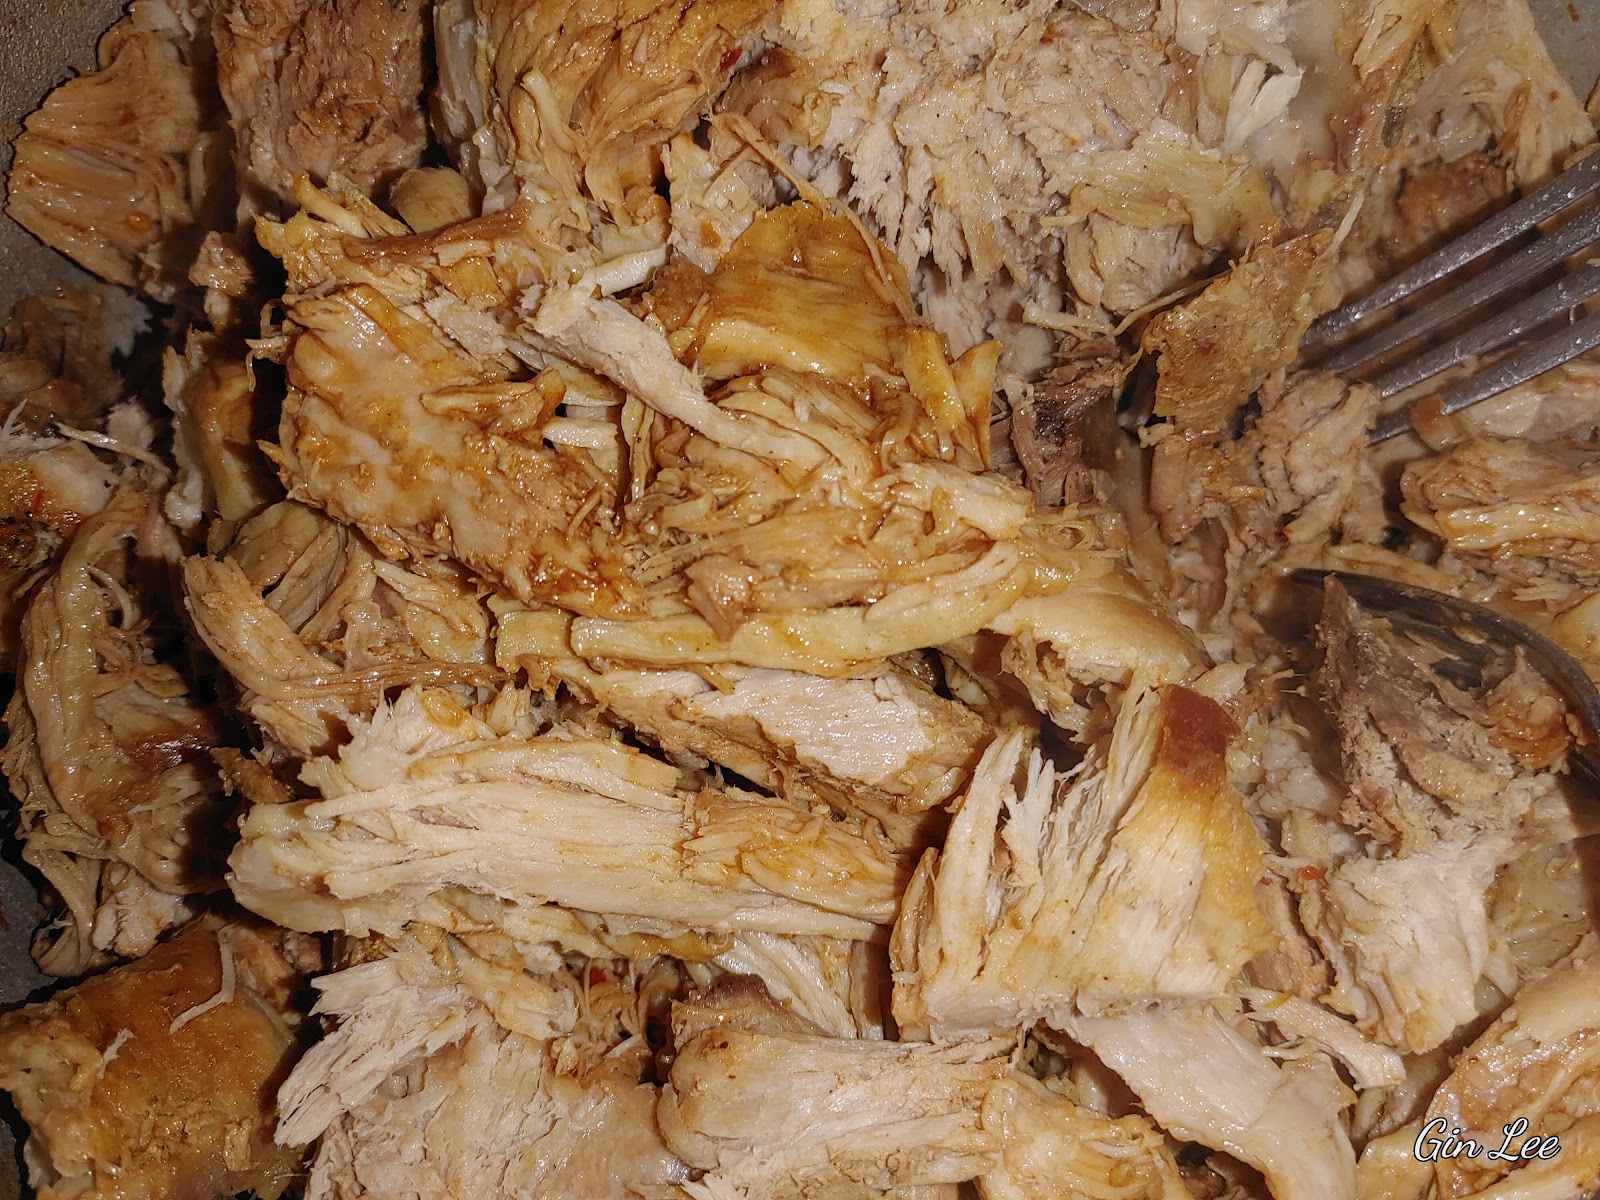
Drain the pork juice out of the pan before shredding the meat. I save it to put in homemade pet food.


To easily shred a Boston butt, use two forks. Once the meat is fully cooked, it doesn't take much time to shred it. To do this, stick a fork in the center of the meat, apply a little pressure so that the tines are stuck inside, and use that fork to hold onto the meat while you're using the other fork to shred it.


Serve the BBQ on buns with a spoonful of coleslaw and enjoy!

Popular posts from this blog

Growing Vegetable Plants in Rockwool Cubes

Growing Vegetable Plants in Rockwool Cubes Hey there, fellow gardeners! Today we're going to talk about a cool way to grow your own vegetables using rockwool cubes. It may sound fancy, but it's actually pretty simple and fun. Let's dive in! What You'll Need: First things first, you'll need some rockwool cubes . These are like little sponges that help your plants grow strong and healthy. You'll also need some vegetable seeds, a tray to hold the cubes, and water. I personally use these hydroponic grow trays with dome lids. Step 1: Soak the Cubes Before you plant your seeds, you'll need to soak the rockwool cubes in water. This helps them absorb moisture and provides a good environment for your plants to grow. Step 2: Plant Your Seeds Once your cubes are nice and soaked, it's time to plant your seeds. Make a little hole in the top of each cube and drop a couple of seeds in. Some seeds are so tiny and I generally end up planting more than two in each cube. ...

Delicious Baked Sesame Seed Breaded White Fish Recipe

Delicious Baked Sesame Seed Breaded White Fish Recipe Elevate your culinary skills with this delectable recipe for baked white fish coated in a flavorful sesame seed breading. This dish is sure to impress your guests and leave them craving for more. Follow the simple steps below to create a mouthwatering meal that is both delicious and nutritious. Ingredients: 4 white fish filets 4 tablespoons sesame seeds 1 teaspoon garlic powder 1 teaspoon paprika Seasoning salt and freshly ground black pepper to taste 2 tablespoons olive oil Instructions: Place the sesame seeds, garlic powder, paprika, seasoning salt, and freshly ground black pepper in a shallow dish and mix well. Brush each fish filet with olive oil and then coat them in the sesame seed mixture, pressing gently to adhere. Place the coated filets on a greased baking tray. Bake in a 400-degree oven for 20 minutes, or until the fish is cooked through and the coating is crispy and golden brown. Serve hot and enjoy your delicious baked ...

Cook With Gin Lee

What's the difference between griddle cakes, pancakes, hot cakes, skillet cakes, and flapjacks? Have you ever pondered the question, what's the difference between griddle cakes, pancakes, hot cakes, skillet cakes, and flapjacks? Well, today, I would like to tell you the answer to that specific question. Which is that all five of these food items are exactly one and the same.  Homemade country pancakes I have decided to write two separate articles on the subject of how I make homemade pancakes from scratch. The first one was just to take you through the steps of how I make the pancake and waffle mix from scratch. Inside this article, I will be going more into depth on how I use that particular mix to make pancakes. In the other article, I also covered how to make homemade waffles from this same mix. The dry mix is the same for both, but needs to be prepared a little differently when adding the last few ingredients to make the waffle batter. (Hopefully splitting the t...

Internet Troubles: A Quick Update

Internet Troubles: A Quick Update What’s Going On? Hey everyone! I wanted to take a moment to share something that’s been really frustrating for me. Since early March, my internet has been acting like it’s on vacation—totally gone! I’ve tried so many times to share new posts with you all, but every time I hit “upload,” it just doesn’t work. It’s like my internet is playing hide and seek, and it’s winning! My Struggles I’ve done everything I can think of to fix this problem. I’ve checked my connections, restarted my router, and even called my internet provider for help. But no luck! It feels like I’m stuck in a never-ending game of “Will It Work?” and the answer is always “No.” Keeping It Simple Because of all this trouble, I’m keeping this post super simple. I can’t even add any cool photos right now because I’m not sure if it will upload. I just wanted to let you all know what’s been happening and why I haven’t been able to share more with you. Thanks for being patient with me!

Homemade Fresca Soda

Make Your Own Fresca Soda at Home! Hey there! If you're like me and love Diet Fresca but can't find it in stores anymore, don't worry! I've got a recipe for a homemade version that tastes almost like the real thing. Let's get started! Ingredients: 1 Ruby Red grapefruit, seeded and juiced. Save the peels for steeping 1 lime, seeded and juiced 1 lemon, seeded and juiced 2 teaspoons of Splenda, or your preferred sweetener 1 bottle of sparkling water Instructions: First, chill your sparkling water in the fridge. Peel the outer skin of the grapefruit, lime, and lemon using a vegetable peeler. Make sure to only use the colored part, not the white part. Steep the citrus peels in hot boiling water to extract the oils. Let it cool and strain out the peels. Squeeze the juice from the grapefruit, lime, and lemon using a juicer. Remove any seeds and strain the juice if needed. Combine the fresh squeezed juice with Splenda in a tumbler. Adjust the sweetness to your l...

Delicious Honey Divinity With Chopped Pecans

Delicious Honey Divinity With Chopped Pecans The holidays just wouldn't be the same at my house without a batch of homemade divinity. This sweet treat is decadent, light as air, and absolutely delicious! If you encounter challenges while preparing my divinity recipe, please refer to the end notes for troubleshooting tips. The technique I am sharing is effective for all divinity recipes that do not yield the desired results. Ingredients: • 2 cups of granulated Splenda or granulated white sugar • 5 tablespoons and 1 teaspoon (1/3 cup) of premium honey • 5 tablespoons and 1 teaspoon (1/3 cup) of water • 2 egg whites, beaten to soft peaks • 1 1/2 cups of chopped pecans, chopped Maraschino cherries, or chocolate chips Instructions: Here's a fun and easy recipe for making delicious divinity candy! First, grab a heavy-bottomed pan and mix together granulated Splenda or sugar, honey, and water. Boil the mixture until it reaches a hard ball stage. To test if it's ready, drop a small...

Pan-Seared Strip Loin Steak

Pan-Seared Strip Loin Steak Today, I used chili pepper-infused olive oil to elevate the flavors of my steak. However, feel free to use any cooking oil of your choice. I can confidently say that my recipe is not only delicious but also incredibly satisfying. I hope you will all savor every bite! Ingredients: 1 (16-ounce) strip loin steak  Seasoning salt, to taste Freshly ground black pepper, to taste 1 tablespoon of chili pepper-infused olive oil (or preferred cooking oil) 4 tablespoons of butter 1 teaspoon of smoked paprika 1 1/2 teaspoons of minced garlic Instructions: To prepare the strip steak, start by patting it dry with paper towels and generously seasoning it with seasoning salt at least 40 minutes before cooking. Next, preheat a cast-iron skillet over medium-high heat for 4 minutes. Add 1 tablespoon of chili pepper-infused olive oil (or preferred cooking oil) and allow it to heat up for about 1 minute. Season the steak with freshly ground black pepper just before searing. P...

The Impact of GMO Foods on Your Health

Image by Arturs Budkevics from Pixabay The Impact of GMO Foods on Your Health Have you ever wondered about the long-term effects of eating GMO foods? Let's dive into what GMOs are and how they can potentially affect your health. What are GMOs? GMO stands for genetically modified organism. These are plants or animals that have had their genetic material altered in a lab to make them grow faster, resist pests, or survive harsh conditions. How are GMOs used in food? GMOs are commonly used in crops like corn, soybeans, and cotton. These crops are then used to make a variety of food products that end up on our plates. Potential Health Effects While GMOs are considered safe to eat by many regulatory agencies, some studies have raised concerns about their long-term effects on health. Increased Allergies Some people believe that GMO foods could trigger allergies in individuals who are sensitive to certain proteins that are introduced through genetic modification. Antibiotic Re...

Jasmine Rice Salad

Jasmine Rice Salad Discover a refreshing and nutritious dish with this jasmine rice salad recipe that incorporates a flavorful variety of mixed vegetables. This recipe offers a delightful combination of textures and tastes, making it a perfect choice for a light lunch or a side dish for any meal. Ingredients: 1 cup of jasmine rice 2 cups of water 2 cups of mixed vegetables (carrots, peas, and corn) Fresh parsley, to taste Add seasoning salt and freshly ground black pepper to taste. Olive oil Instructions: In a medium saucepan, combine 1 cup of jasmine rice with 2 cups of water.   Bring the water to a boil, then reduce the heat to low. Cover and simmer for about 15 to 20 minutes, or until done.   Fluff the rice with a fork and set it aside. Drizzle olive oil in a skillet over medium heat.   Add a sprinkle of seasoning salt and freshly ground pepper to taste. Heat up a skillet with a splash of olive oil over medium heat. Toss in your chopped vegetables and sauté them until ...

The Oldest Cookbook in History: Who Wrote the First Cookbook?

Image by Gin Lee/Canva Studios The Oldest Cookbook in History: Who Wrote the First Cookbook? Have you ever pondered the origins of the very first cookbook? The first cookbook was written by Apicius, a Roman epicure who was known for his culinary skills. Residing in the 1st century AD, Apicius was renowned for his passion for exquisite cuisine. Apicius' cookbook boasted an array of recipes that were popular during ancient Roman times. The book included instructions for preparing roasted meats, seafood delicacies, and delectable desserts. Additionally, the cookbook featured recipes for sauces and seasonings that enhanced the flavors of the dishes. Apicius' cookbook, De re coquinaria (“The Art of Cooking), PULLUM FRONTONIANUM (Chicken a la Fronto), has withstood the test of time and remains accessible today. Within its pages, one can discover recipes such as PULLUS FUSILLIS (Chicken with Liquid Filling), VITELLINA FRICTA (Fried Veal), and more. PULLUM FRONTONIANUM (Chicken a la Fr...