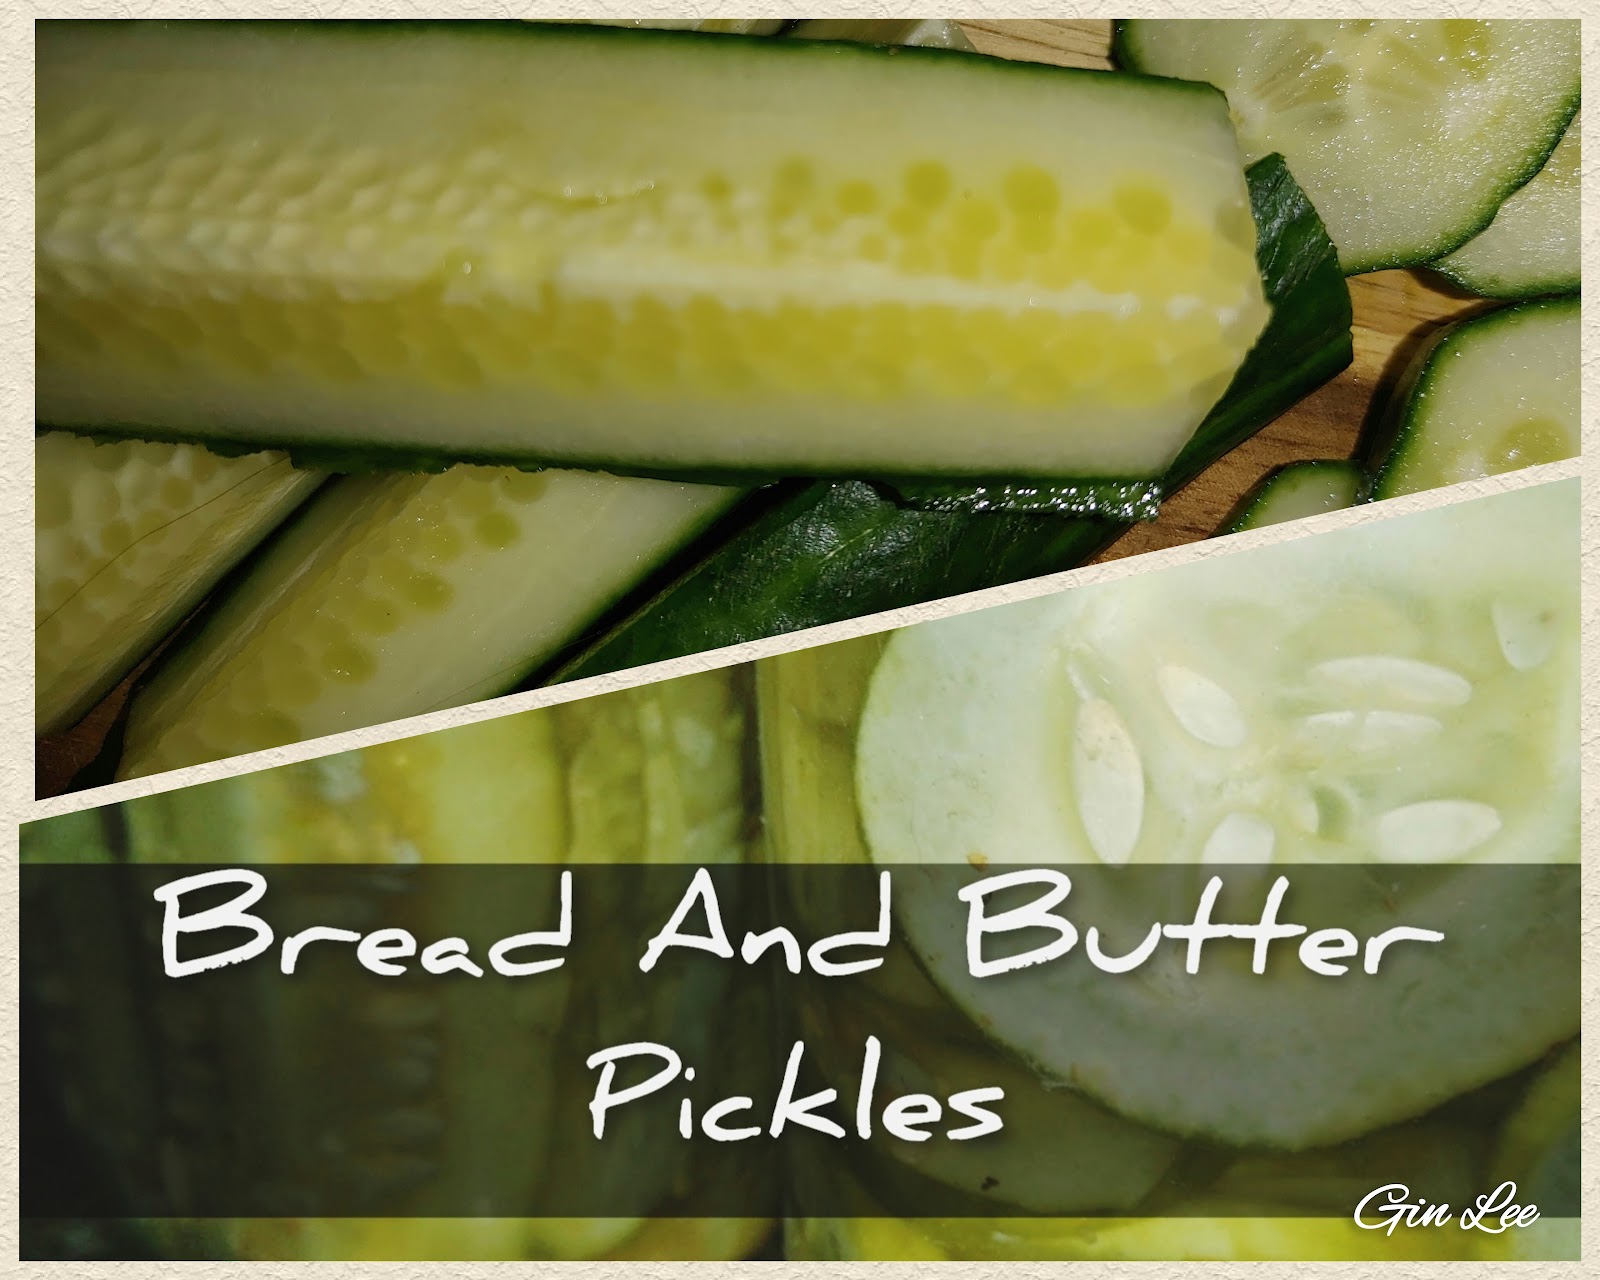
Delicious Bread and Butter Pickles
Vivid, bright green, crisp, and super tangy, these bread and butter pickles are both thinly sliced and speared. I prefer preparing my bread and butter pickles so that I have spears to serve alongside a fish platter and slices to serve on hamburgers and other types of sandwiches. I add just a dash of seasoning salt, freshly ground black pepper, and garlic powder to give my pickles an extra little kick of flavor. Those three ingredients are totally optional.
Ingredients:
3 pounds (equals 12 cups for sliced) of cucumbers, sliced, and or speared
4 cups of fresh white onions, diced, or left in rings (I generally dice mine)
¼ cup of pickling salt
8-10 cups of ice cubes and water
1 cup of white granulated Splenda, or organic cane sugar
1-½ tablespoons of mustard seed
1 teaspoon of celery seed
1 teaspoon of ground turmeric
½ teaspoon of freshly ground black pepper (optional)
½ teaspoon of seasoning salt (optional)
1 teaspoon of garlic powder (optional)
3 cups of white vinegar
Instructions:
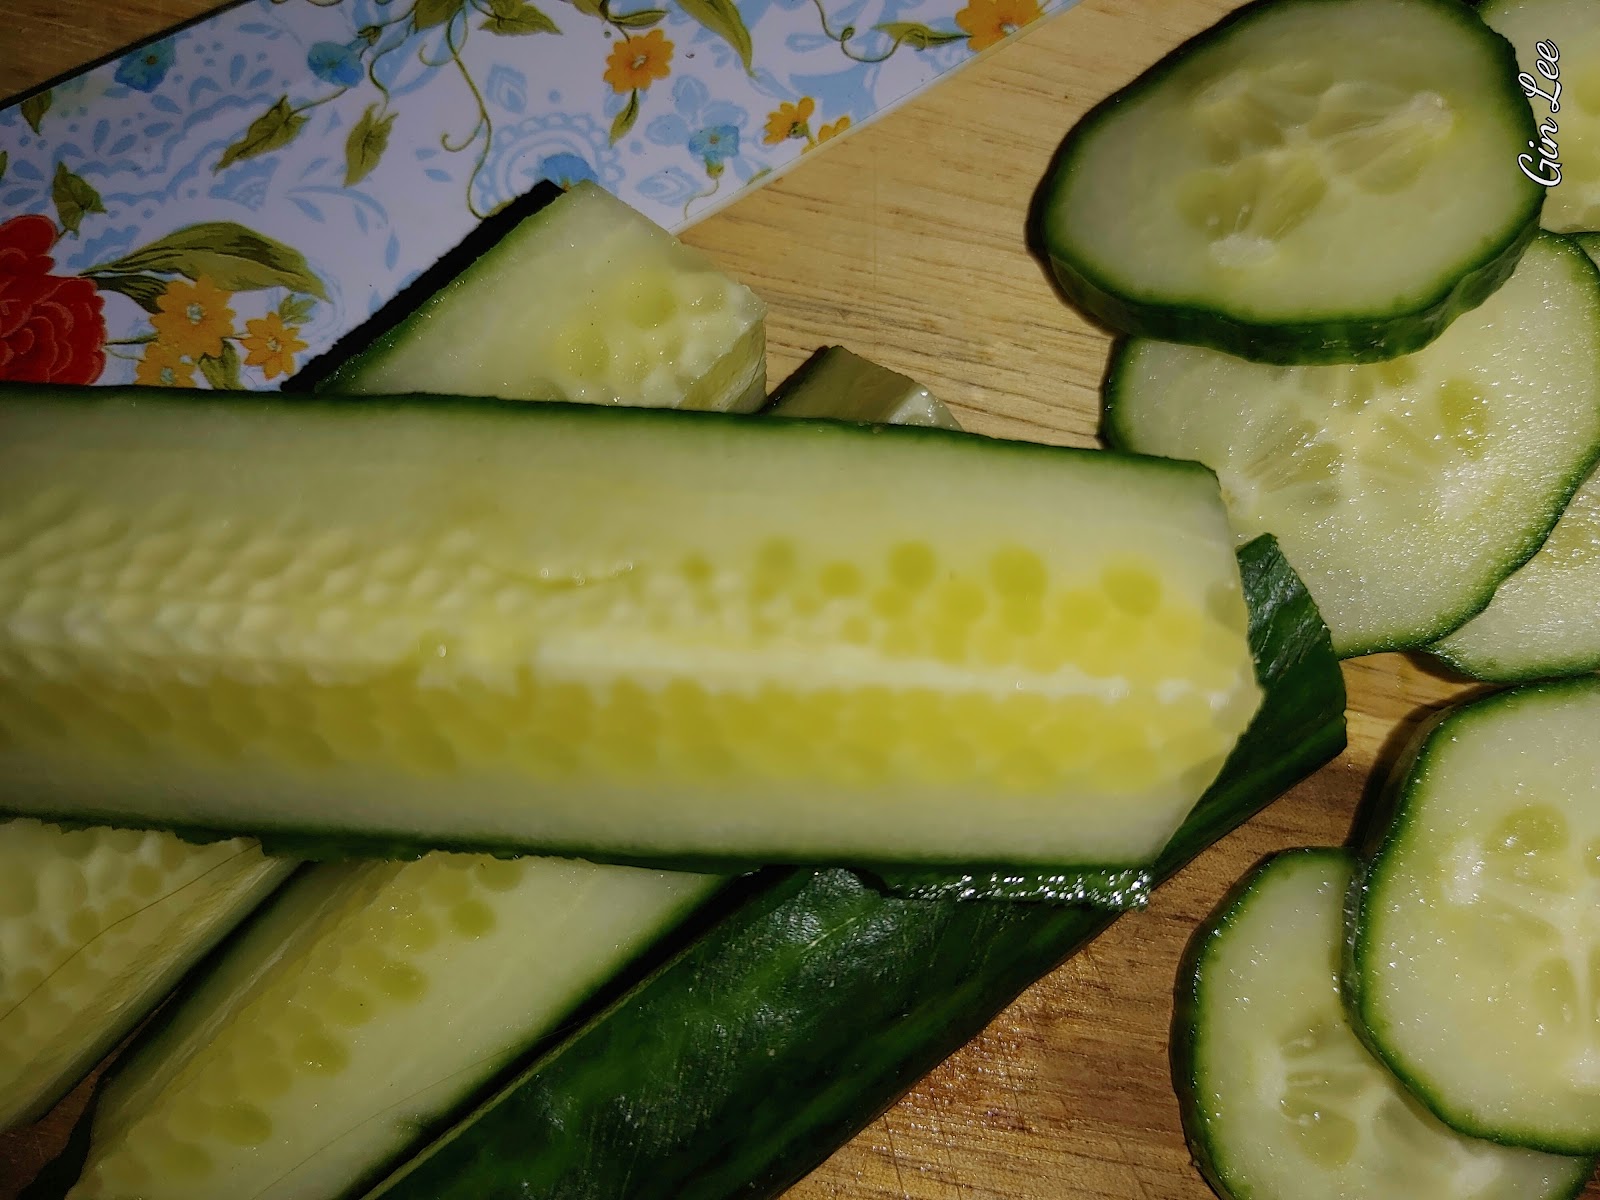
First, wash, slice, and or spear your cucumbers. (I like making a couple jars of sliced and speared.) Then peel and finely dice your onions. Combine the sliced cucumber and onions in a bowl. Sprinkle your pickling salt over the top of them, cover with ice and water, and allow them to sit for four hours. Doing this will give your pickles a crisp, fresher taste and your pickles won't be limp and soggy-like.
Preparing your canning equipment:
Wash your jars, lids, rings, and other canning tools in hot sudsy water. Rinse thoroughly with clean water. Set your jars aside and allow them to air dry on a clean tea towel.
Now, place your jar rack into your water bath canner. Transfer your clean jars into the canner. Add water to cover the jars. Bring the canner to a low simmer for twelve minutes. Leave the jars in your water bath canner to keep the jars hot and sterilized.
Instructions for making your pickling brine:
In a large pan, over medium-high heat, combine the Splenda, or organic cane sugar, celery seed, mustard seed, ground turmeric, freshly ground black pepper, seasoning salt, garlic powder, and white vinegar. Cook until the mixture comes to a boil.
Now, drain the water off the prepared cucumbers and onions. Rinse them under fresh running water.
Next, transfer the cucumbers and onions to the brine and heat until the mixture begins to boil. Reduce the heat to simmer while you fill your jars.
Canning your bread and butter pickles
Spread a clean tea towel on the counter. Use jar tongs to remove the hot jars from the canner.
Drain the jars, and place them on the clean towel. Work as fast as you can so that the jars won't get too cold.
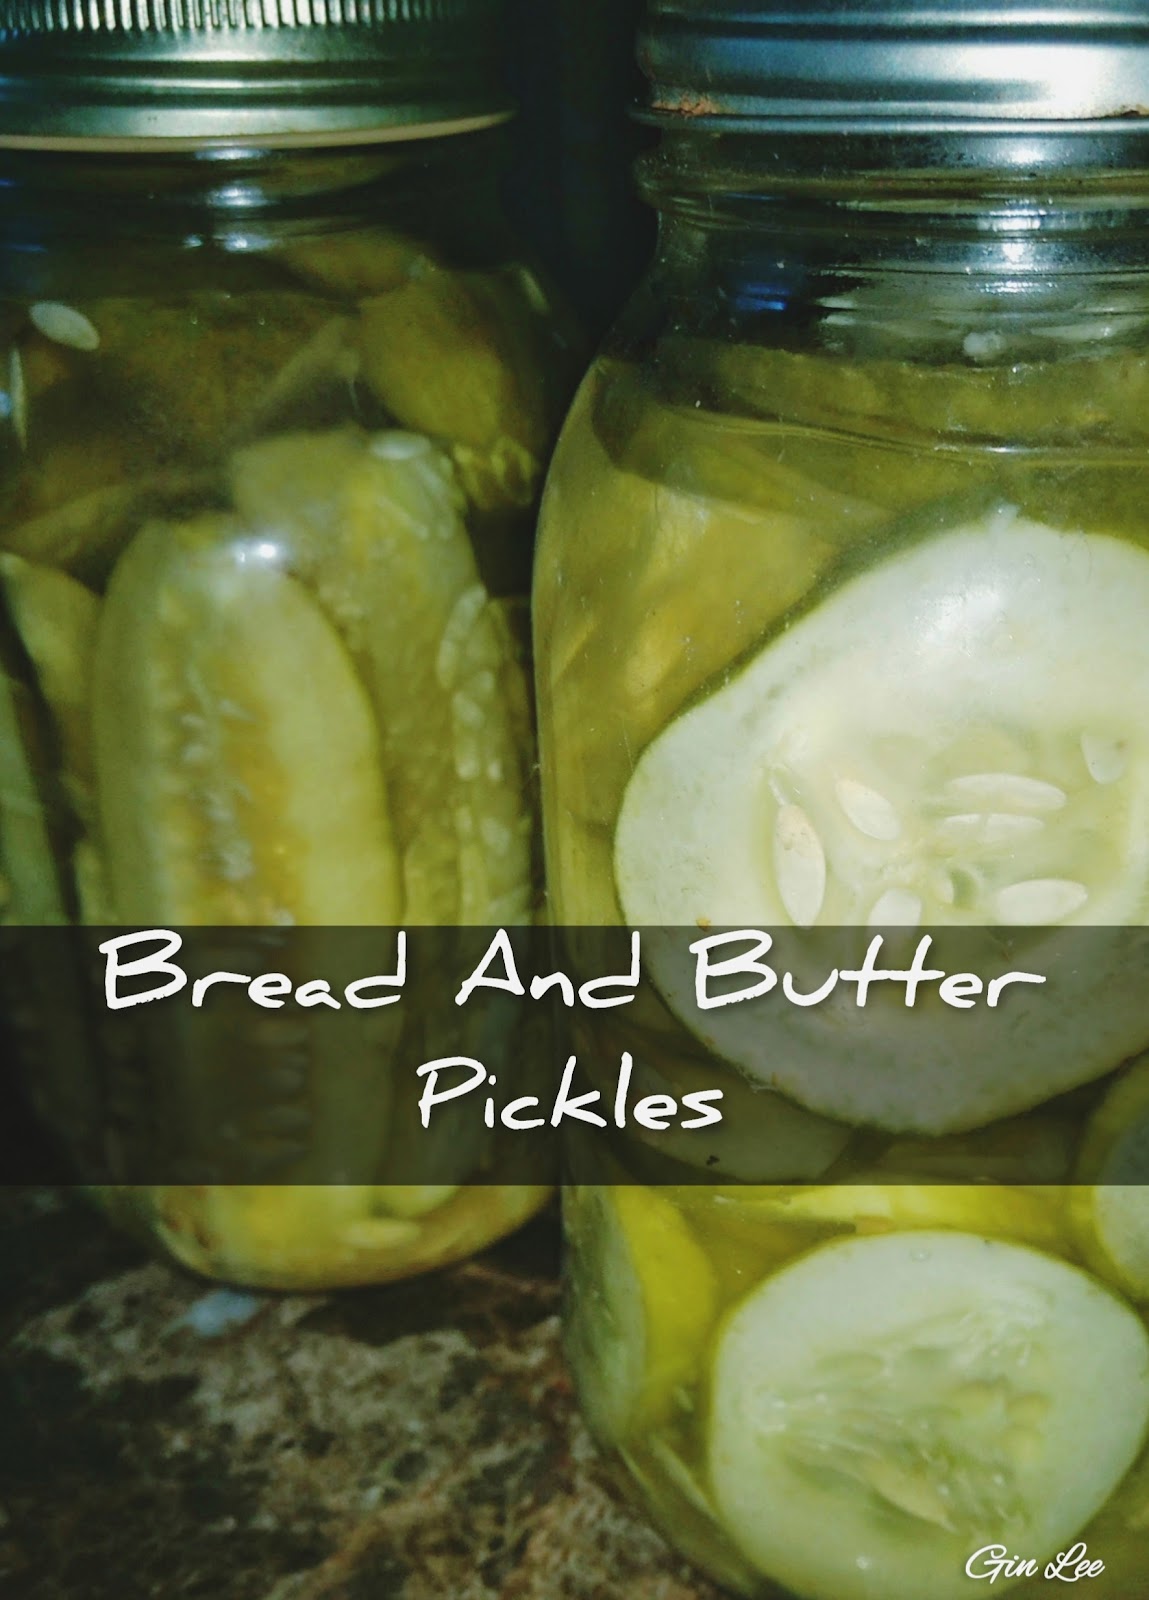
Use a canning funnel and a ladle to pack the hot cucumbers and onions loosely into the jar. Ladle the hot brine over them and leave a half inch headspace in the jars.
Make sure all the pickles are completely submerged underneath the pickling brine. Do not leave any of the sliced cucumbers sticking out of the brine. If needed, pull some of them out of the jar.
Using a paper towel, wipe around the rim of each jar to remove any spilt residue. Place canning lids on the jars. Then screw on the jar rings just until they are finger tight. Use your jar tongs and place the jars back into the canner. Repeat this step with the remaining jars.
Once all the jars are in the canner, make sure that the water level is two inches above the jar lids.
Place the lid on your water bath canner. Allowing the water to come to a boil over high heat. Once water begins to rapidly boil, process your bread and butter pickles for fifteen minutes for quart-sized jars and ten minutes for pints. (I am using quart-sized jars.)
Once the processing time is complete, turn the burner off. Remove your canner's lid and allow the jars to sit for five minutes. (This time is needed to finish the canning process.)
Use the jar tongs to remove the jars from the canner and place them on the tea towel. Allow the jars to sit for twenty-four-hours undisturbed. Do not poke the lids, do not take the jar rings off until after twenty-four-hours have passed.
Next, check the jar lids to make certain the lids have sealed. Push on the center of the lid. The lid should be tight and not make any popping sounds. If the lid pops up and down, it isn't sealed. You can either can the unsealed jars again, with new lids, or place them inside your refrigerator. Note that you'll need to use the pickles in seven days, or they'll need to be thrown out.
Remove the jar rings. Then make sure that you take the time to label and put a date on the jars. Store in a cool, dark area. Allow a few weeks for the pickles to develop their best flavor.