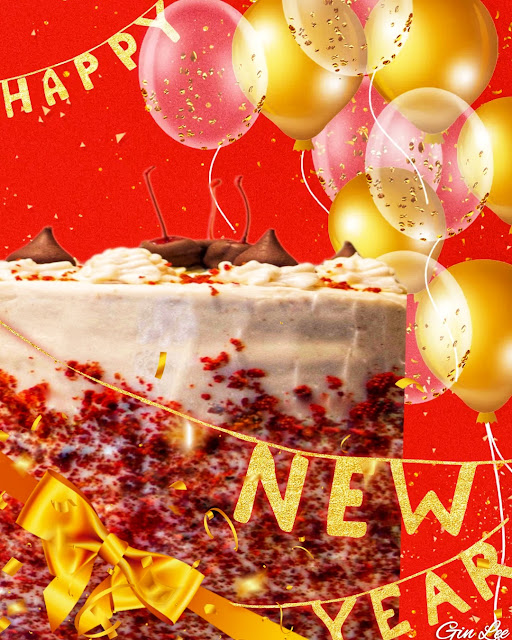
Layered Red Velvet Cake
Indulge in the exquisite delight of a delectable four-layered red velvet cake. This recipe promises to elevate your culinary prowess and leave your taste buds yearning for more. Prepare to embark on a journey of pure decadence and sophistication.
Ingredients to make:
2 ½ cups of all-purpose flour
2 tablespoons of unsweetened cocoa powder
1 ½ teaspoons of baking powder
1 teaspoon of salt
1 ½ cups granulated Splenda or granulated sugar
1 cup of unsalted butter, softened
2 large eggs
1 cup of buttermilk
2 teaspoons of pure vanilla extract
1 tablespoon of red food coloring
1 teaspoon of distilled white vinegar
½ cup of hot water
Instructions:
Grease and flour three 6-inch round cake pans, ensuring they are evenly coated.
In a medium-sized bowl, sift together 2 ½ cups of all-purpose flour, 2 tablespoons of unsweetened cocoa powder, 1 ½ teaspoons of baking powder, and 1 teaspoon of salt. Set aside.
In a separate large mixing bowl, cream together 1 ½ cups of granulated Splenda or granulated sugar and 1 cup of softened butter until light and fluffy. This process should take approximately 3 to 4 minutes.
Add 2 eggs, one at a time, to the Splenda or sugar and butter mixture, ensuring each egg is fully incorporated before adding the next. Mix well after each addition.
Gradually add the sifted dry ingredients to the butter mixture, alternating with 1 cup of buttermilk. Begin and end with the dry ingredients, mixing well after each addition.
Stir in 2 teaspoons of pure vanilla extract, 1 tablespoon of red food coloring, and 1 teaspoon of distilled white vinegar until the batter is smooth and evenly colored.
Slowly pour in a half cup of hot water, mixing on low speed until the batter is well combined. Be cautious not to overmix.
Divide the batter equally among the prepared cake pans, ensuring an even distribution.
Transfer the pans to a 350-degree oven and bake for about 30 minutes.
Allow the cakes to cool completely on wire racks. Then level the tops of each cake with a serrated knife. Crumble the cut pieces from the cake tops. Set aside. (These crumbles will be used to decorate the cake once it's layered and frosted.)
Frosting Ingredients:
1 package (16 ounces) of cream cheese, at room temperature
1 cup of butter, at room temperature
2 teaspoons of pure vanilla extract
4 cups of sugar-free powdered sugar or regular powdered sugar, sifted
Note:
Double the frosting ingredients if you prefer thicker frosting.
Frosting Instructions:
Using a mixer, beat 1 package (16 ounces) of softened cream cheese and 1 cup of softened butter on medium-high speed until it's creamy and smooth.
Add 2 teaspoons of pure vanilla extract and beat until it's combined.
Slowly add in 4 cups of sugar-free powdered sugar or regular powdered sugar on low speed and beat until the buttercream frosting is smooth, creamy, and fluffy.
Assembling the cake:
Stack and frost the cake layers on a cake pedestal, using a dab of frosting in the center of the pedestal. This will keep the cake from slipping around.
As you stack the cake layers, add an even layer of cake frosting between each layer.
Once the layers are stacked, spread a thin layer of frosting around the entire cake. (Try to leave extra frosting to use later when decorating the cake.) Then place the cake in the refrigerator to chill for about 15 to 20 minutes.
Using your hands, gently press the reserved red velvet cake crumbs along the side of the cake.
Using a frosting bag and tip, pipe a pretty decorative border around the top of the cake. Add Hershey Kisses and Maraschino cherries on top (optional).
Serve and enjoy!
Note:
This cake will need to be refrigerated if it's not served immediately. Place any leftover cake in the fridge as well.