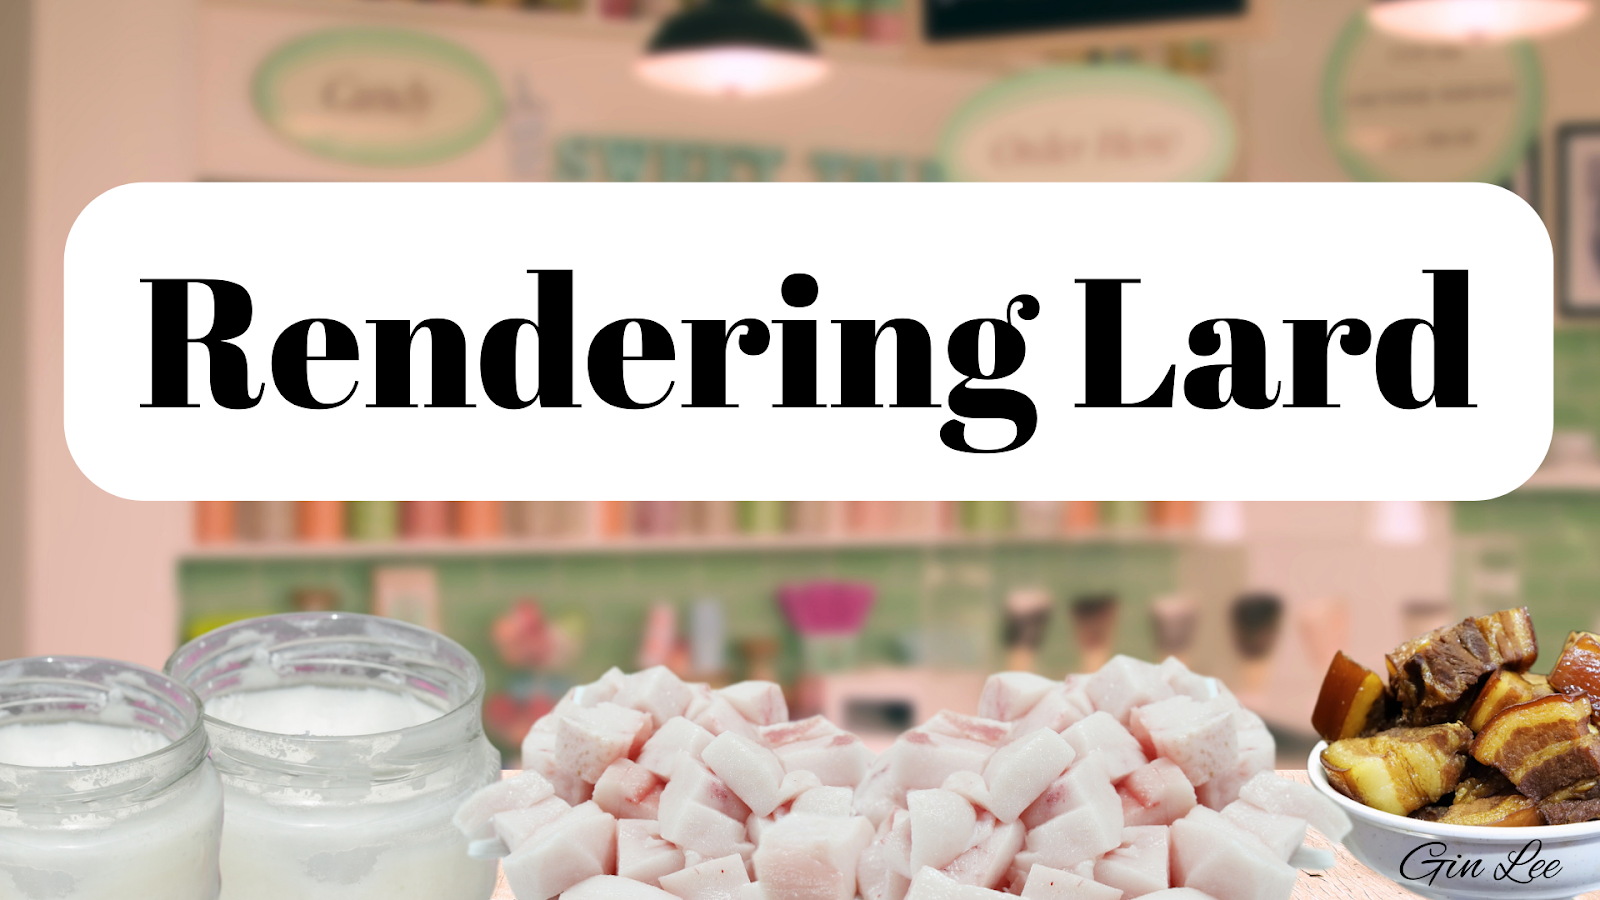
Rendering Lard: A Sizzle of Tradition and Flavor
In light of rising prices, allow me to demonstrate how you can save money on cooking oil by creating your own lard at home.
Rendering lard, the process of melting down and purifying pork fat to create a versatile cooking ingredient, has a rich history deeply rooted in culinary traditions around the world. While lard fell out of favor for a period, it is experiencing a resurgence due to its unique flavor profile and various benefits in cooking. My article today explores the art of rendering lard, from understanding its origins to selecting the right fats, different rendering methods, storage techniques, culinary uses, and essential tips for achieving optimal results.
Historical Significance of Lard
Lard holds a prestigious place in culinary history, being a key ingredient in traditional recipes across various cultures. It was prized for its versatility and ability to enhance the taste of dishes.
Benefits of Rendering Lard
Contrary to popular belief, lard is a source of healthy monounsaturated fats and contains less saturated fat than butter. It is also rich in vitamin D, making it a nutritious alternative for cooking.
Flavor Enhancement in Cooking
Lard adds a unique depth of flavor to dishes, whether used for frying, baking, or sautéing. Its high smoke point makes it ideal for creating crispy and delicious dishes.
Types of Fat Suitable for Rendering
When selecting fat for rendering, look for high-quality pork fat with a good balance of lean and fatty tissue. Back fat, leaf lard, and belly fat are popular choices for rendering.
Factors to Consider When Selecting Fat
Consider the source of the fat, its freshness, and whether it is free from any additives or preservatives. Opt for organic or pasture-raised pork fat for the best results.
Methods of Rendering Lard
Traditional Rendering Methods
In the past, lard was traditionally rendered by simmering chunks of pork fat in water to extract the fat. The rendered fat was then strained and cooled to solidify into lard.
Modern Techniques for Rendering Lard
Modern methods of rendering lard include using a slow cooker or oven to melt the fat slowly, resulting in a cleaner and more consistent final product. This method is convenient and yields high-quality lard.
Rendering lard is a rewarding culinary adventure that brings the essence of tradition and flavor to your cooking. So, embrace the sizzle and let lard cast its magic in your kitchen!
Ingredients:
Finely chopped pork fat (amount as desired)
Today, I am using pork fat, but this method can be used with various types of animal fat, including beef, sheep, goat, bear, chicken, duck, goose fat, or venison.
Instructions:
Use a Dutch oven or other heavy-bottomed pot and maintain low heat throughout the process. Remember, low and slow.
Start by adding a small amount of fat to the Dutch oven and heating it on low, stirring constantly, until a thin layer of melted fat covers the bottom. Add more fat as needed.
Add the remaining fat and stir to coat with the melted fat.
Stir occasionally to prevent scorching.
Continue cooking and stirring until there are no more bubbles and the cracklings are a light golden brown.
Remove the cracklings with a slotted spoon and place them on a plate lined with a clean paper towel to drain. Season to taste, and enjoy. Store the cooled cracklins in a Ziploc bag in the freezer. (My pooch loves cracklins as a doggie treat.)
Proper storage techniques
Wash and dry glass jars, and keep them warm. Place a canning funnel in the warm jar, followed by a metal strainer lined with clean cheesecloth or a coffee filter.
To properly store your lard, first turn off the burner and proceed to carefully ladle the melted fat into the jar. It is crucial to exercise caution during this process, as the fat will be extremely hot.
Next, ladle the melted fat into the jar through the cloth and strainer to ensure that any remaining crispy bits are removed. Fill the jar completely and immediately cap each one.
After capping the jars, set them aside to cool. Once cooled, store the lard in a cool, dark pantry, or alternatively, in the refrigerator or freezer for longer preservation. This will help maintain its freshness and prevent any funky odors from infiltrating its pure goodness.
Best Practices for Using Rendered Lard in Cooking
When it comes to cooking with rendered lard, the world is your crispy, flavorful oyster. Use it for frying, sautéing, or even as a butter substitute in baking for an extra-tender crumb. Just remember, a little goes a long way, so don't overdo it unless you want your dishes swimming in luscious porky goodness.
Culinary Uses of Rendered Lard/Baking with Lard
Lard isn't just for savory dishes; it's a secret weapon in the world of baking too! Swap out butter or vegetable shortening for lard in your pie crusts, biscuits, and pastries for a flakier, richer result that will have your taste buds doing a happy dance.
Cooking Techniques that Benefit from Lard
From perfectly crispy fried chicken to tender braised meats, lard adds a depth of flavor and mouth-watering texture to a variety of dishes. Use it for roasting vegetables, searing meats, or even popping popcorn for a movie night snack that will make you the star of the show.
Tips and Tricks for Successful Lard Rendering
Common mistakes to avoid when it comes to rendering lard: patience is key. Don't rush the process or crank up the heat too high, or you'll end up with a funky-tasting final product. Also, make sure to strain out any crispy bits or impurities for a clean, pure lard that's ready to elevate your cooking game.
Expert Tips for High-Quality Rendered Lard
For the highest-quality lard, begin with premium pork fat sourced from a reputable supplier. By cutting the fat into small, consistent pieces, you can improve the efficiency of the rendering process. Additionally, adding a small amount of water during rendering can help prevent scorching.
In summary, the process of rendering lard provides a gratifying culinary experience that enhances the flavor and versatility of your dishes. Furthermore, it can lead to significant cost savings over time.