
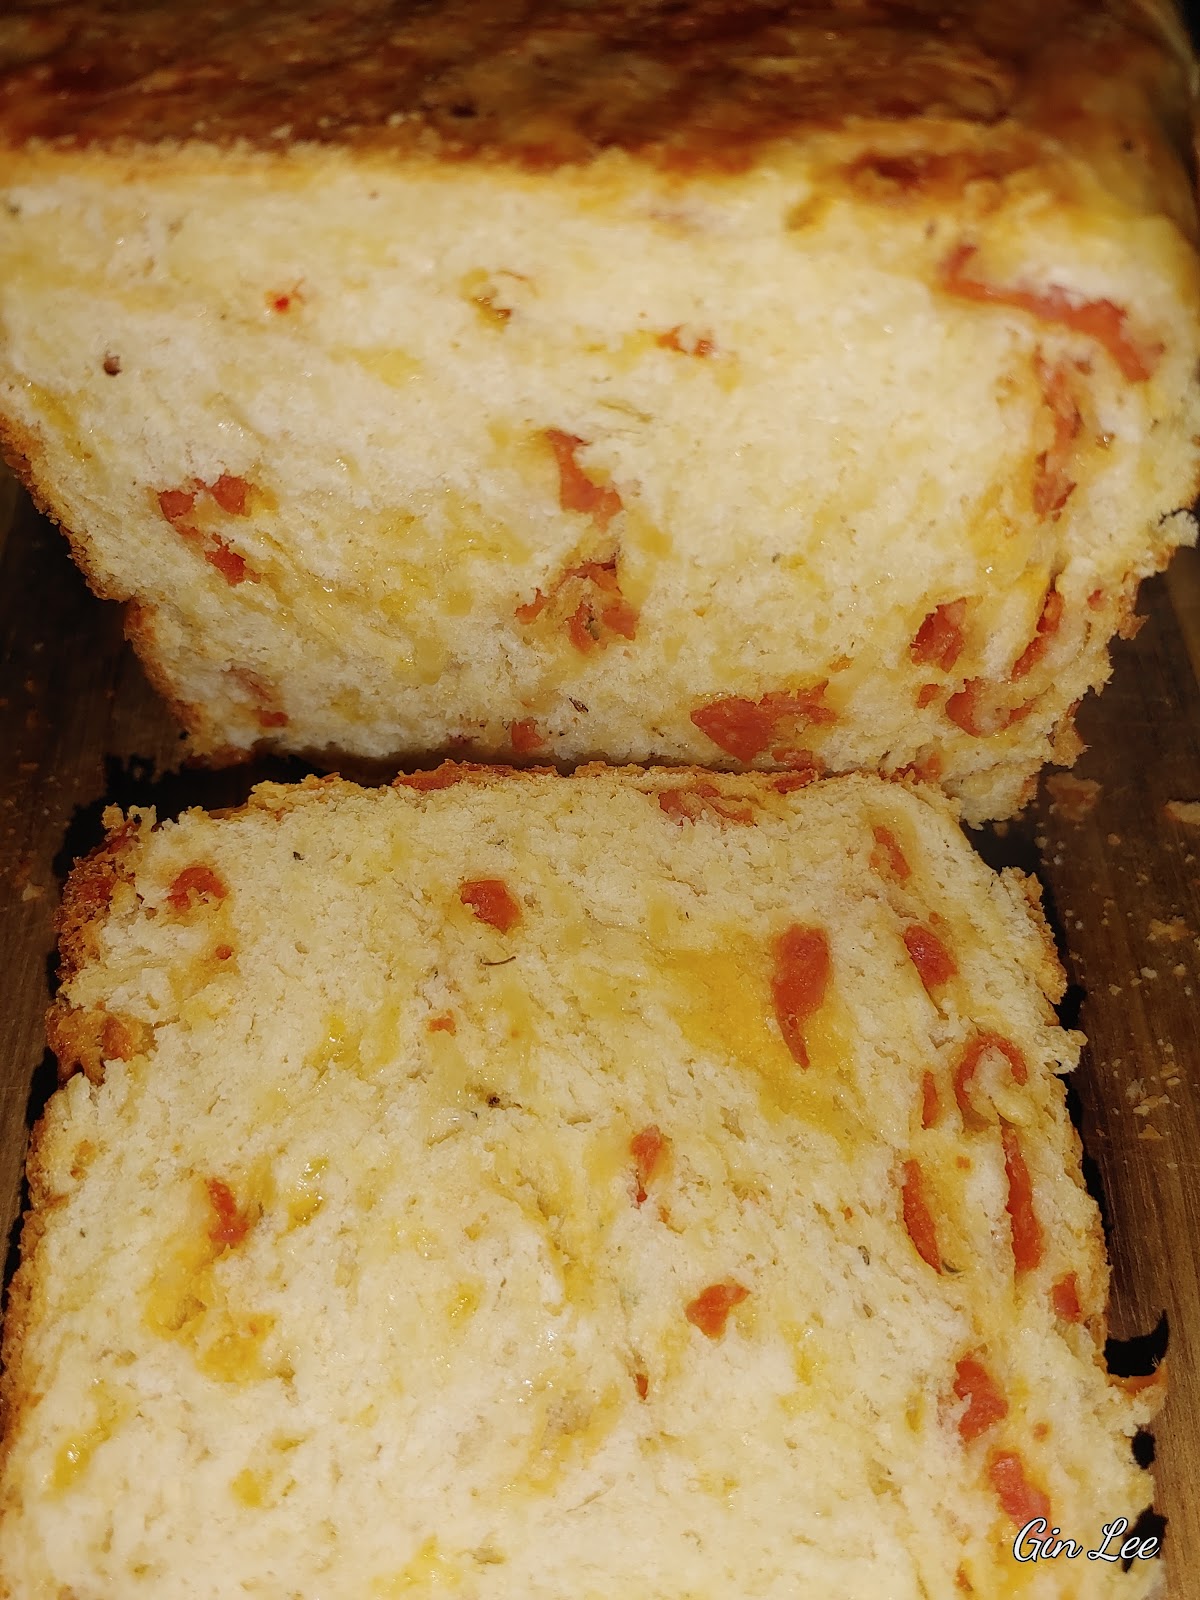
Pullman cheese and pepperoni bread
This loaf of bread is filled with chunks of pepperoni and gooey shredded cheese. It's wonderful served with various pasta dishes or for a snack just by itself and when it's dipped in pizza sauce, it's even better! My husband enjoys eating a slice just as soon as it's cool enough to serve. Are you guys ready to put some mouthwatering yum into your tums?
Ingredients:
3 cups of all-purpose flour
1-¼ teaspoon of yeast
1 teaspoon of seasoning salt, or kosher salt
1 cup of shredded cheese, your preferred (I used shredded cheddar.)
1 cup of chopped pepperoni
½ teaspoon of garlic powder (optional)
½ teaspoon of Italian seasoning (optional)
1-½ cups of lukewarm water, plus a little more if needed
2-3 tablespoons of melted butter, to be brushed over the top of the dough
Instructions:
First, chop the pepperoni and shred one cup of your favorite cheese. (Chop your pepperoni into the size you prefer.)

In a bowl, add the list of ingredients. (Slowly add the water, while you are bringing the dough together. You may need less or more.) Mix by hand for about one minute just until the dough comes together.
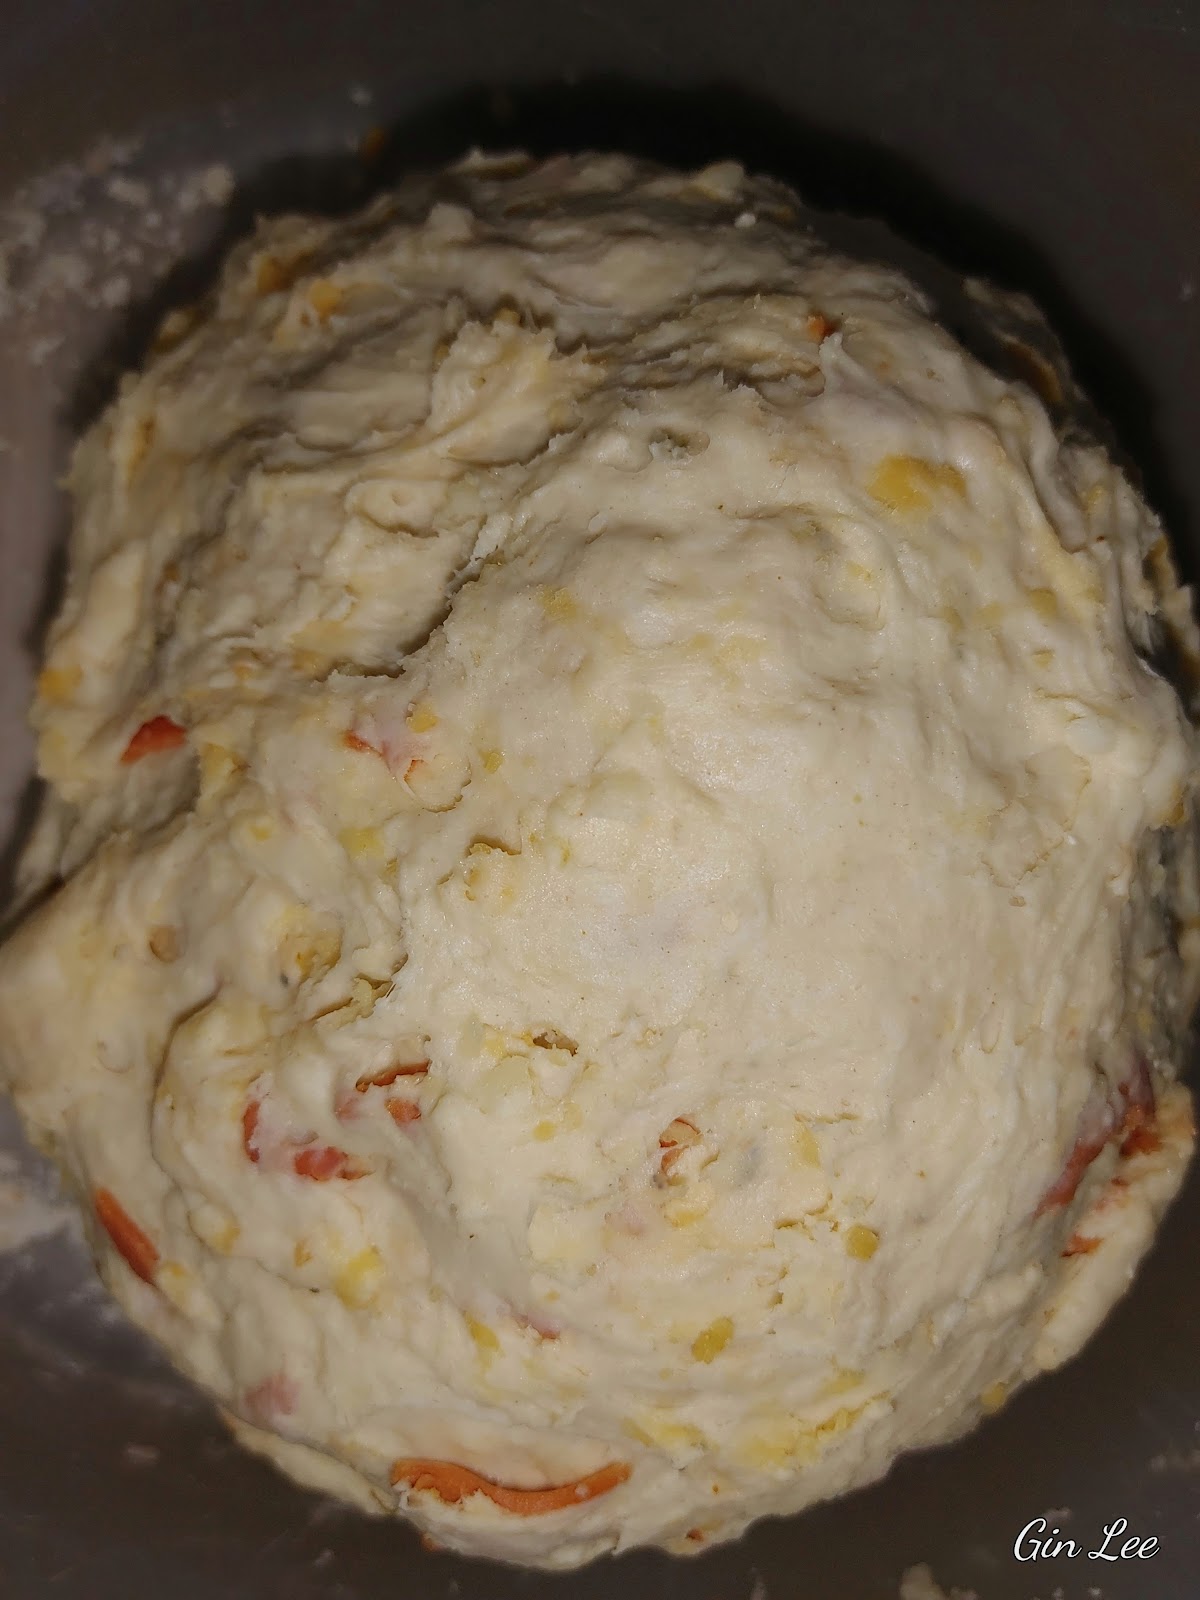
Then cover the dough with a clean towel, or use a piece of plastic wrap. Allow the dough to rest for one hour in a warm area. (This bread dough isn't supposed to be too wet, but it does need to be somewhat moist after it comes together.)
Now, punch the dough down with your fist and smooth it out into a well-rounded ball shape. Brush the dough with melted butter. Cover the dough again and allow it to rest for thirty minutes.
Next, prepare your bread pan by greasing it with butter, margarine, or vegetable shortening.
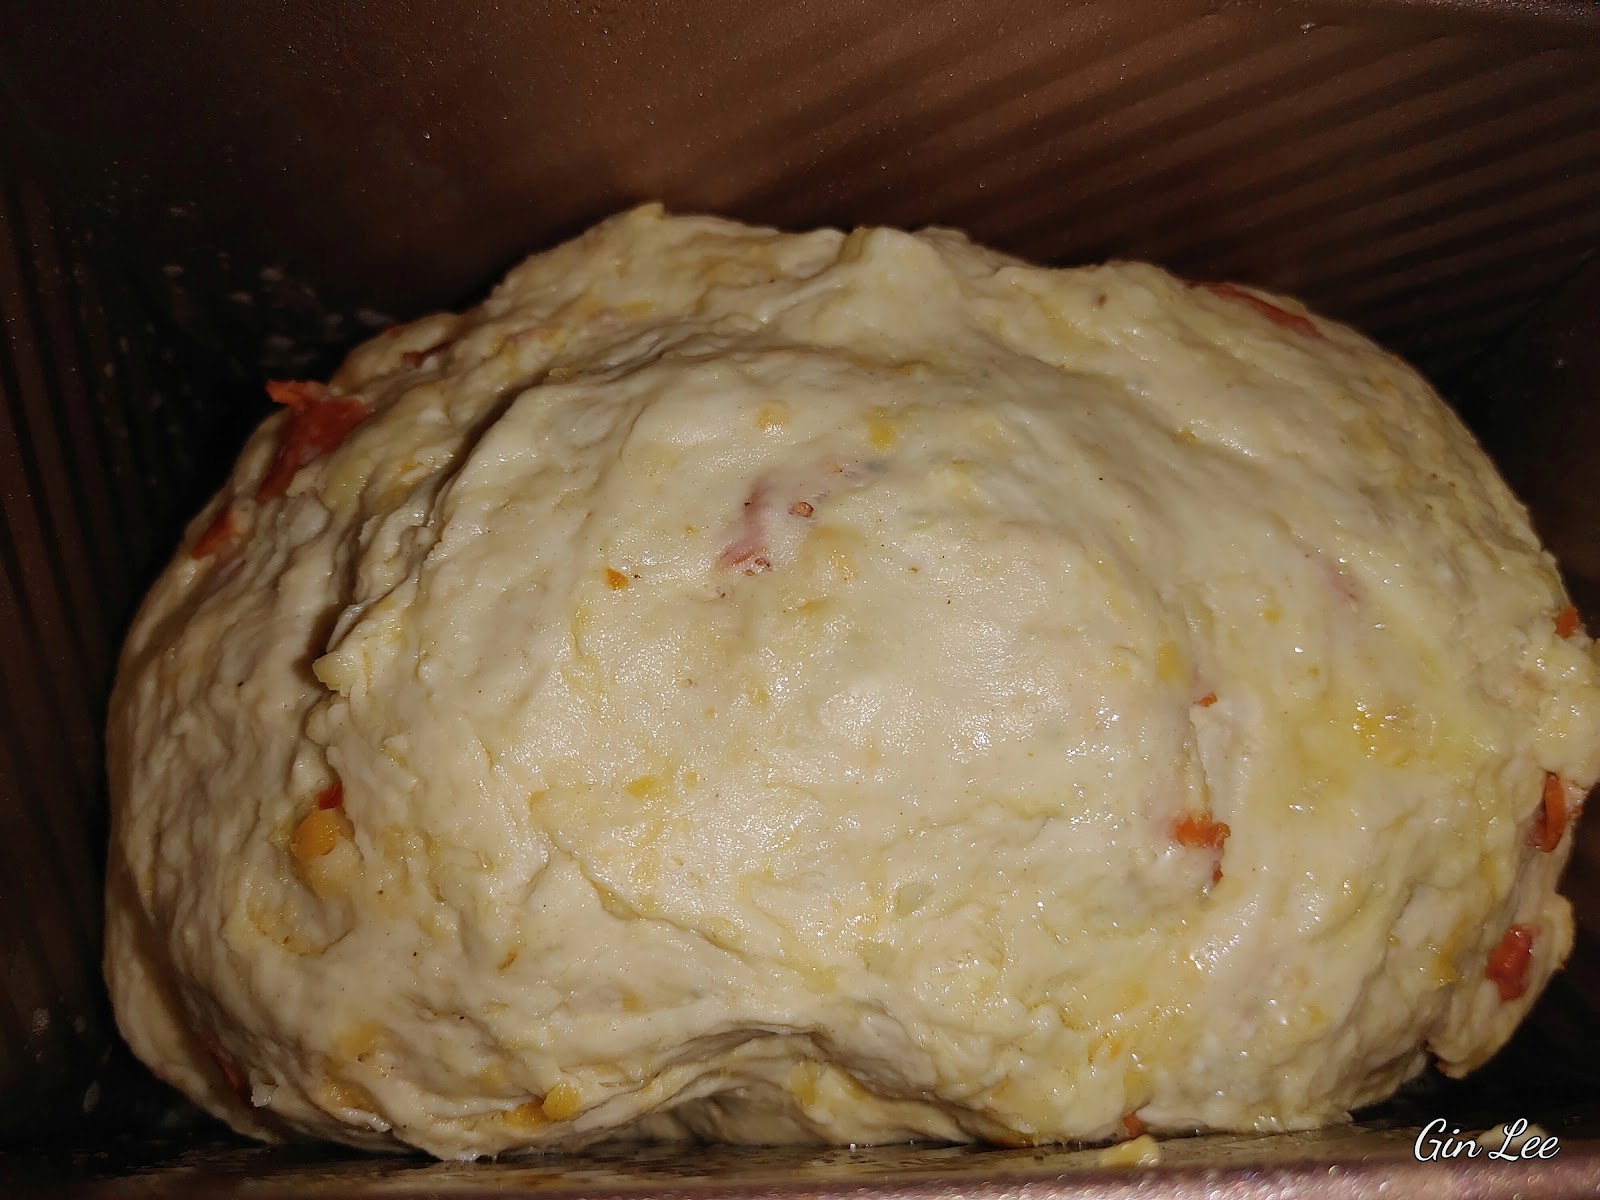
Transfer the dough to your prepared loaf pan and cover it. Allow your dough to rest in the pan for up to three hours.
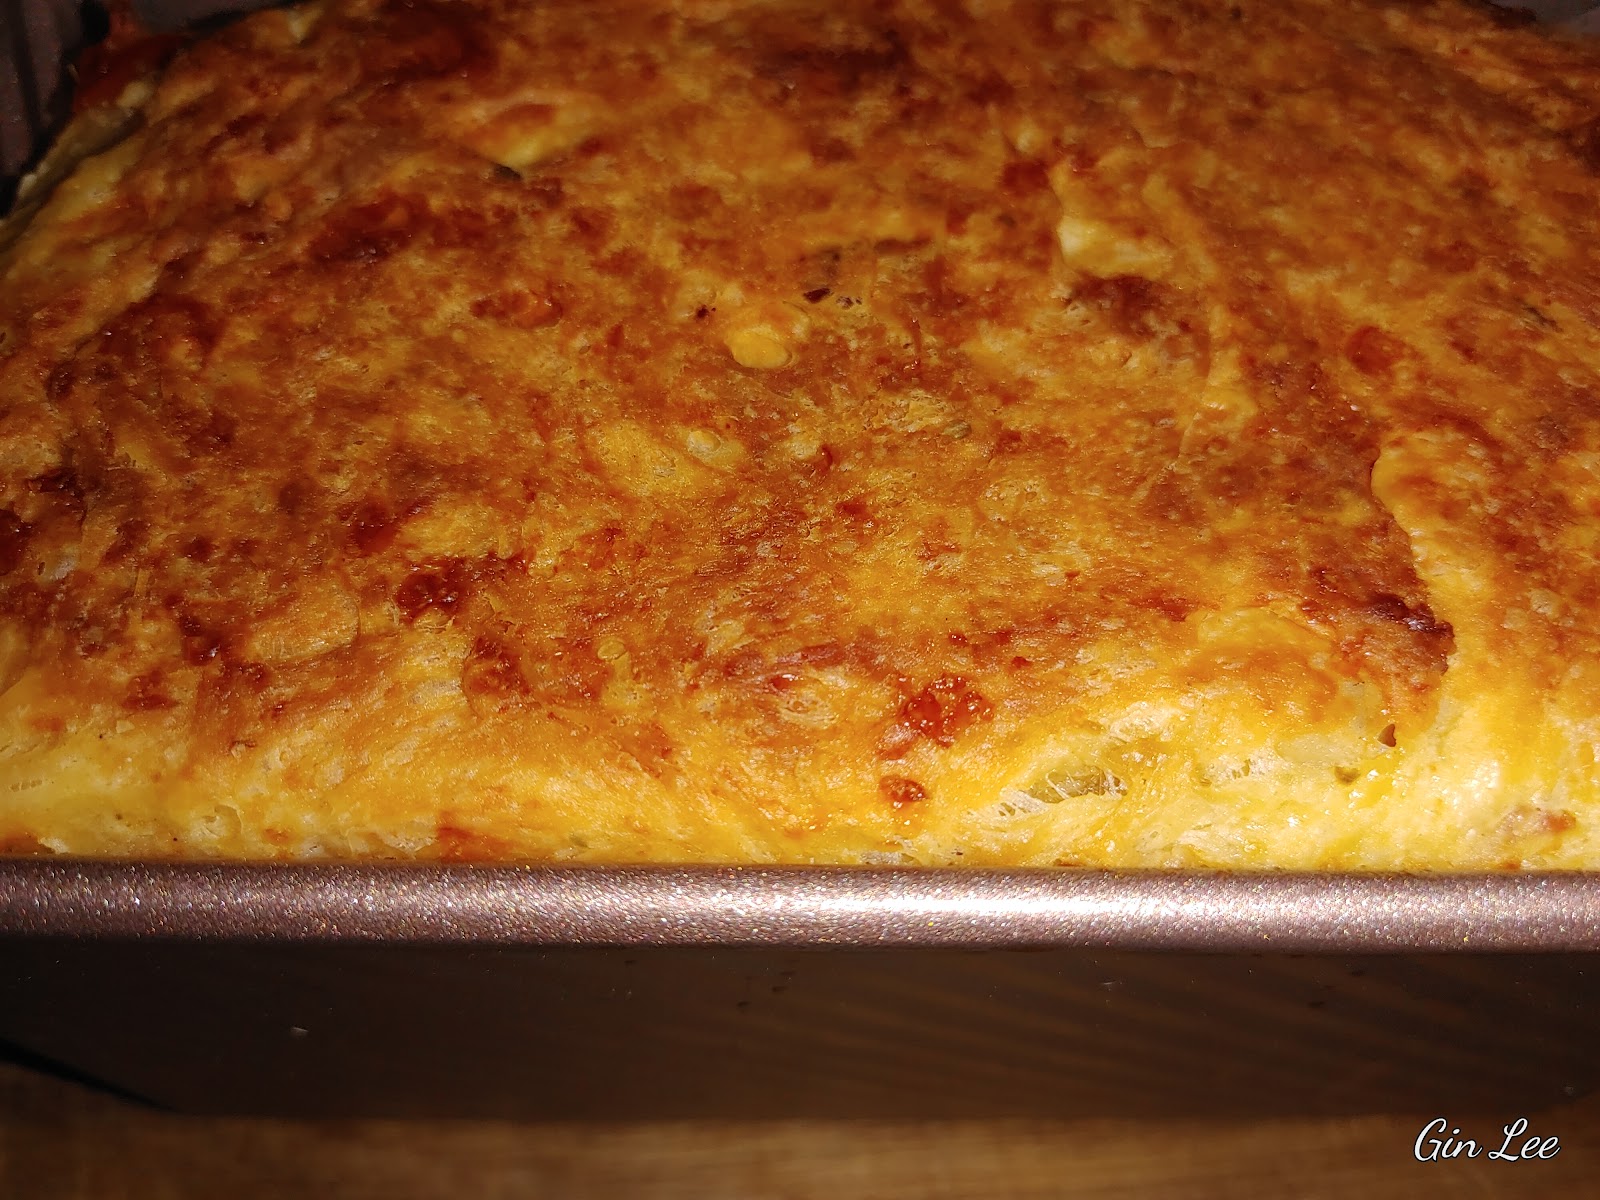
Today, I decided to use a one pound Pullman loaf pan. I will not be removing the lid until after my bread is finished baking. If you're using a Pullman loaf pan, make sure you grease underneath the lid and brush the top of your dough with melted butter before sliding the lid onto the pan.
Bake (covered) in a 375 degrees F oven for thirty to forty-five minutes. (I will allow my loaf to bake for the full forty-five minutes.)
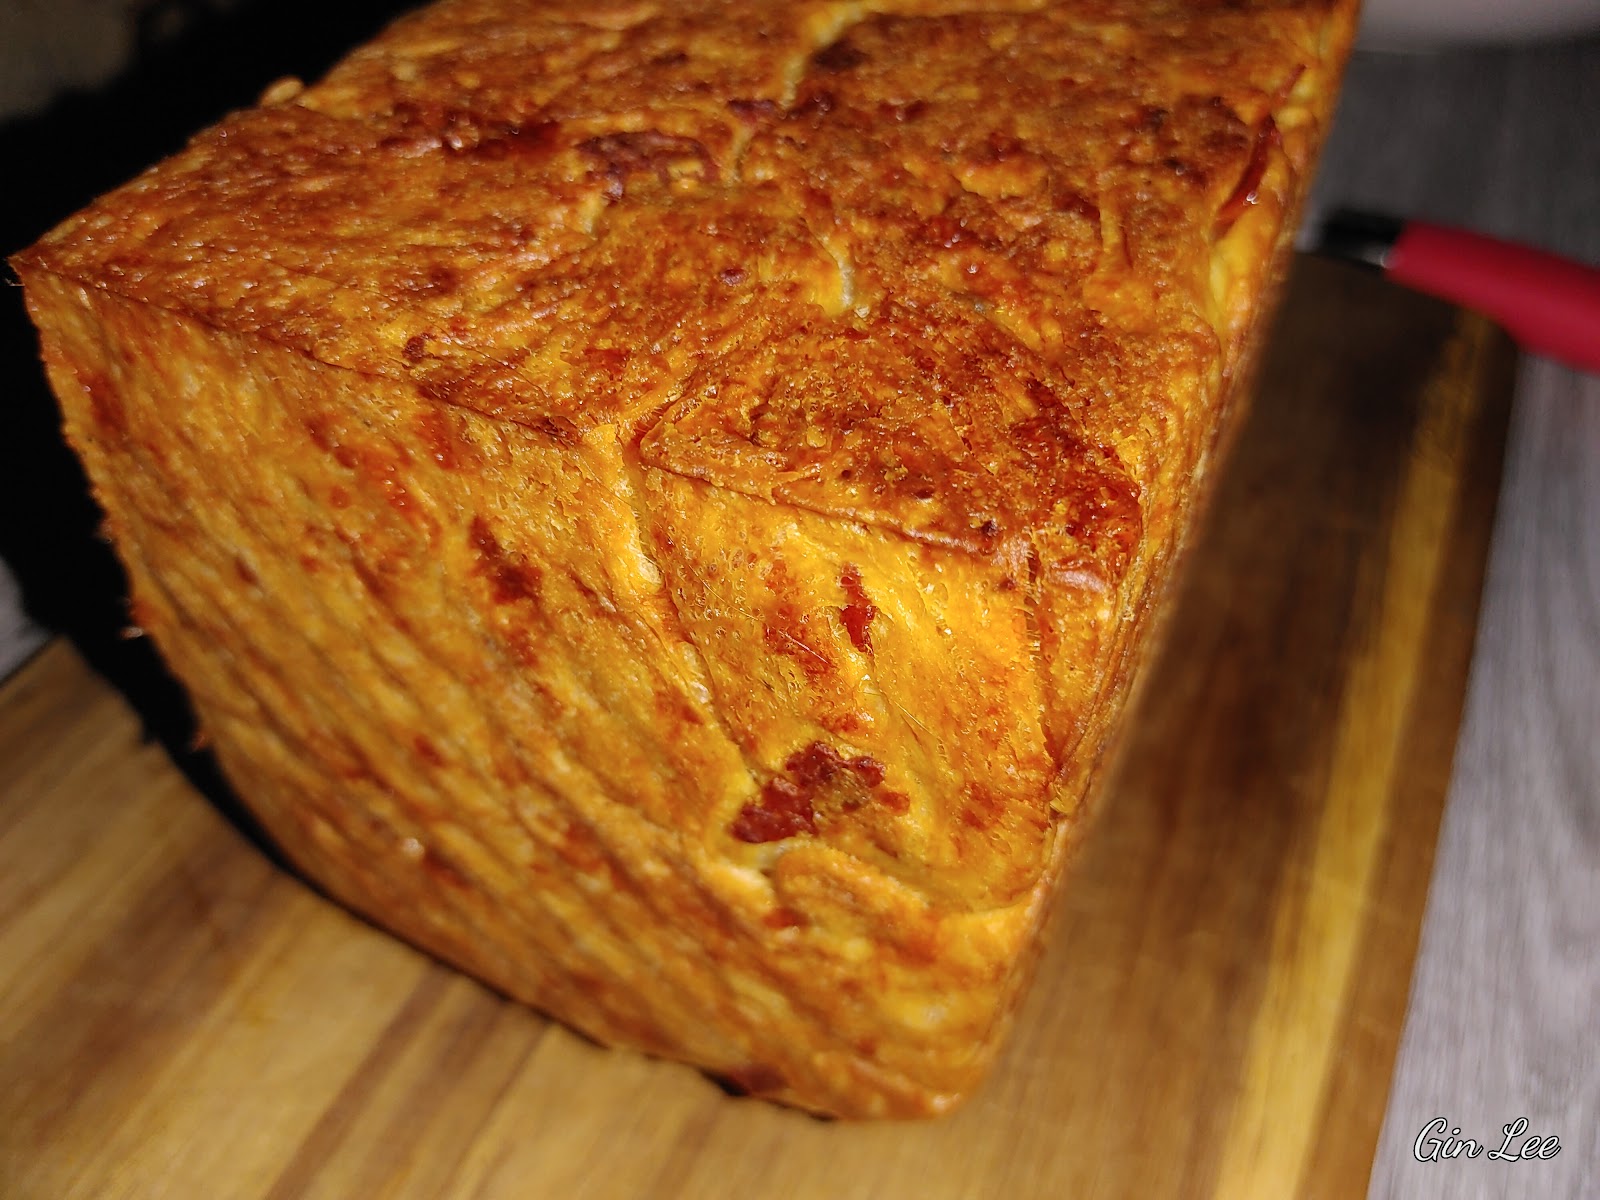
When your bread is finished baking, transfer it to a wire cooling rack. Allow it to cool before slicing it. Then enjoy it!
Please, make sure to wrap the remaining loaf tightly in plastic wrap or aluminum foil and store it inside the refrigerator. The bread will ruin if you don't.
Note:
If you'd like, you can add various types of grains and nuts when first mixing the dough. Just remember to adjust the amount of flour and water too. For example: if you want to add a grain such as oatmeal, add a half of a cup of uncooked oats, and use two and a half cups of flour, instead of the three cups.
If you prefer to use a hard grain, soak the grain first for at least ten hours before adding it to your dough. Add the grain in during the time that you add the other ingredients. Then mix your dough. (It's actually best to allow the grain to soak in water overnight.)
Comments
Post a Comment