
Homemade Chocolate Yum-Yum Bars

Homemade Chocolate Yum-Yum Bars

For chocolate enthusiasts, crafting this nostalgic treat in the comfort of your own kitchen is a surefire way to bring joy. These homemade chocolate yum-yum bars are both simple to make and a fun activity that anyone can enjoy.

Ingredients:

  • 1/2 cup of cocoa powder

  • 3 cups of sugar-free powdered sugar, or regular powdered sugar

  • 3/4 cup of powdered milk

  • 2 tablespoons of softened butter or margarine

  • 1/2 cup of sugar-free corn syrup, or honey

  • 1 teaspoon of chocolate extract

  • 1 bag (12-ounces) of semi-sweet chocolate chips

  • 1/2 cup of granola

  • 1/2 cup of nuts (optional)

Instructions:

To begin creating the filling for the bars, combine 1/2 cup of cocoa powder, 3 cups of sugar-free powdered sugar or regular powdered sugar, and 3/4 cup of powdered milk in a large mixing bowl. Mix thoroughly.


Add 2 tablespoons of softened butter or margarine, 1/2 cup of sugar-free corn syrup or honey, and 1 teaspoon of chocolate extract to the mixture.


Mix the ingredients together until well combined.


Although the candy mixture may initially appear dry, continue kneading until it forms into a cohesive ball of candy.


Roll the candy out on waxed paper, about an inch thick. Cut the candy into candy bar shapes and set aside.


In a large microwave-safe measuring cup, melt the chocolate chips in 30-second intervals, stirring in between, until smooth.


To make your own chocolate yum-yum bars, pour a small amount of the melted chocolate into chocolate molds. Place the candy filling over the chocolate.


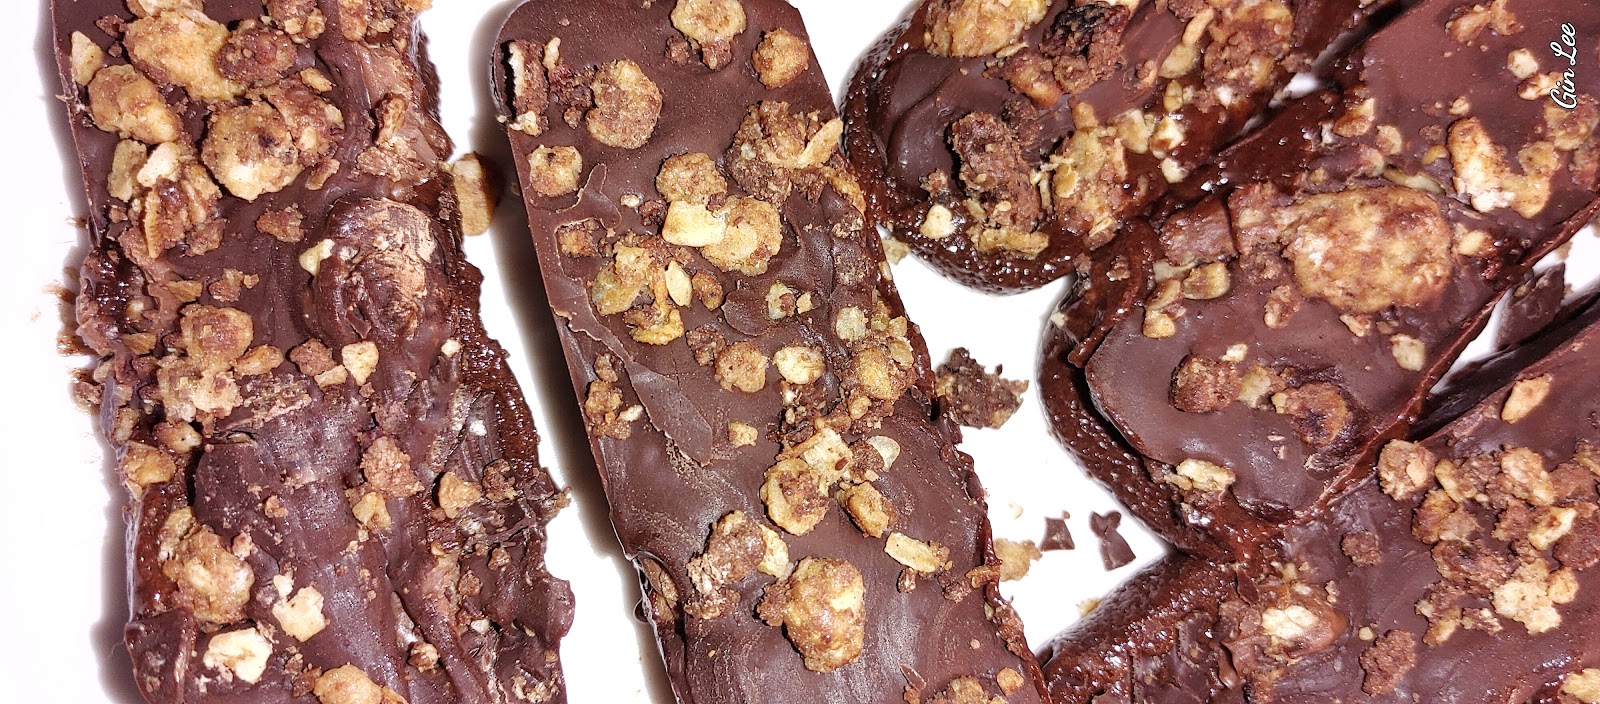
Next, pour the remaining melted chocolate over each bar. Sprinkle granola and nuts on top of each bar.


Let the chocolate yum-yum bars sit at room temperature and transfer to the refrigerator or freezer to allow the chocolate bars to firm up.


Enjoy them immediately, or wrap them in plastic wrap or wax paper for later indulgence.


Popular posts from this blog

Why I Don't Preheat My Oven Before Cooking"

"Why I Don't Preheat My Oven Before Cooking" In this article, I aim to shed light on my unconventional approach to cooking by explaining the reasons behind why I choose not to preheat my oven. While this may seem like a peculiar practice to some, I assure you that there are valid reasons behind it that I will explore in the following sections. Safety Considerations: Addressing concerns about food safety and doneness Ensuring proper internal temperature: Using a food thermometer One of the common concerns when it comes to skipping preheating is whether the food will cook evenly and reach a safe internal temperature. However, I have found that using a food thermometer effectively eliminates this concern. By inserting a thermometer in the thickest part of the dish, I can ensure that it reaches the recommended temperature for doneness. This method not only guarantees food safety but also prevents overcooking. Adhering to recommended cooking times for specific foods Another mi

American pokeweed

American pokeweed  American pokeweed is a perennial, and it's commonly known as a survivalist plant. The plant is often referred to as poke salad, poke sallet, pokeweed, poke, among a few others. During the first days of spring, purplish shoots of pokeweed emerge from the soil. The plant will often pop up as a volunteer, and depending on the location, pokeweed can grow anywhere from 6 feet to 20 feet tall. The stalks and stems of pokeweed are an attractive purplish plum color. The leaves are a beautiful green color, and they can grow as big as 14 inches long by 7 to 8 inches wide. The plant's leaves will be tapered at each end. By summer, pokeweed begins producing long clusters of green and white flowers. The flowers turn into green berries that then transition from a light pink to a dark plum color. Pokeweed grows flowers and berries often at the same time and will continue to grow until the first frost. I have never pulled a pokeweed plant up from its roots, but I

I tried Martha Stewart's slow-cooker triple chocolate brownies recipe- this is how they turned out

I tried Martha Stewart's slow-cooker triple chocolate brownies recipe- this is how they turned out There's one lady on this earth (besides mom) that I have always simply adored; Martha Stewart. Anyone who knows me knows that Martha has been my lifelong hero since I was a teenager. She's witty, beautiful, and exceptionally talented in so many various ways. Such as DIY home and land renovations to whipping up any tantalizing masterpiece in her kitchen.  Even though I have a multitude of recipes, I had never made  slow-cooker triple chocolate brownies  before. That's until I came across Martha Stewart's recipe for this delightfully delicious, gooey chocolate treat. I followed Martha's techniques and her recipe to the tee, and ooh-la-lah! Her slow-cooker triple chocolate brownies are sinfully exquisite. They are a chocolate lover's dream come true. Martha's slow-cooker brownie recipe takes 3-1/2 hours to bake. While some people may think that is too long to