
5-Minute Festive Holiday Fudge
Indulging in sweet treats is an integral part of the holiday season, and what better way to satisfy your cravings than with a batch of homemade fudge? This article will guide you through the delightful world of 5-Minute Festive Holiday Fudge, offering an easy and quick recipe that will leave you with a decadent treat in no time.
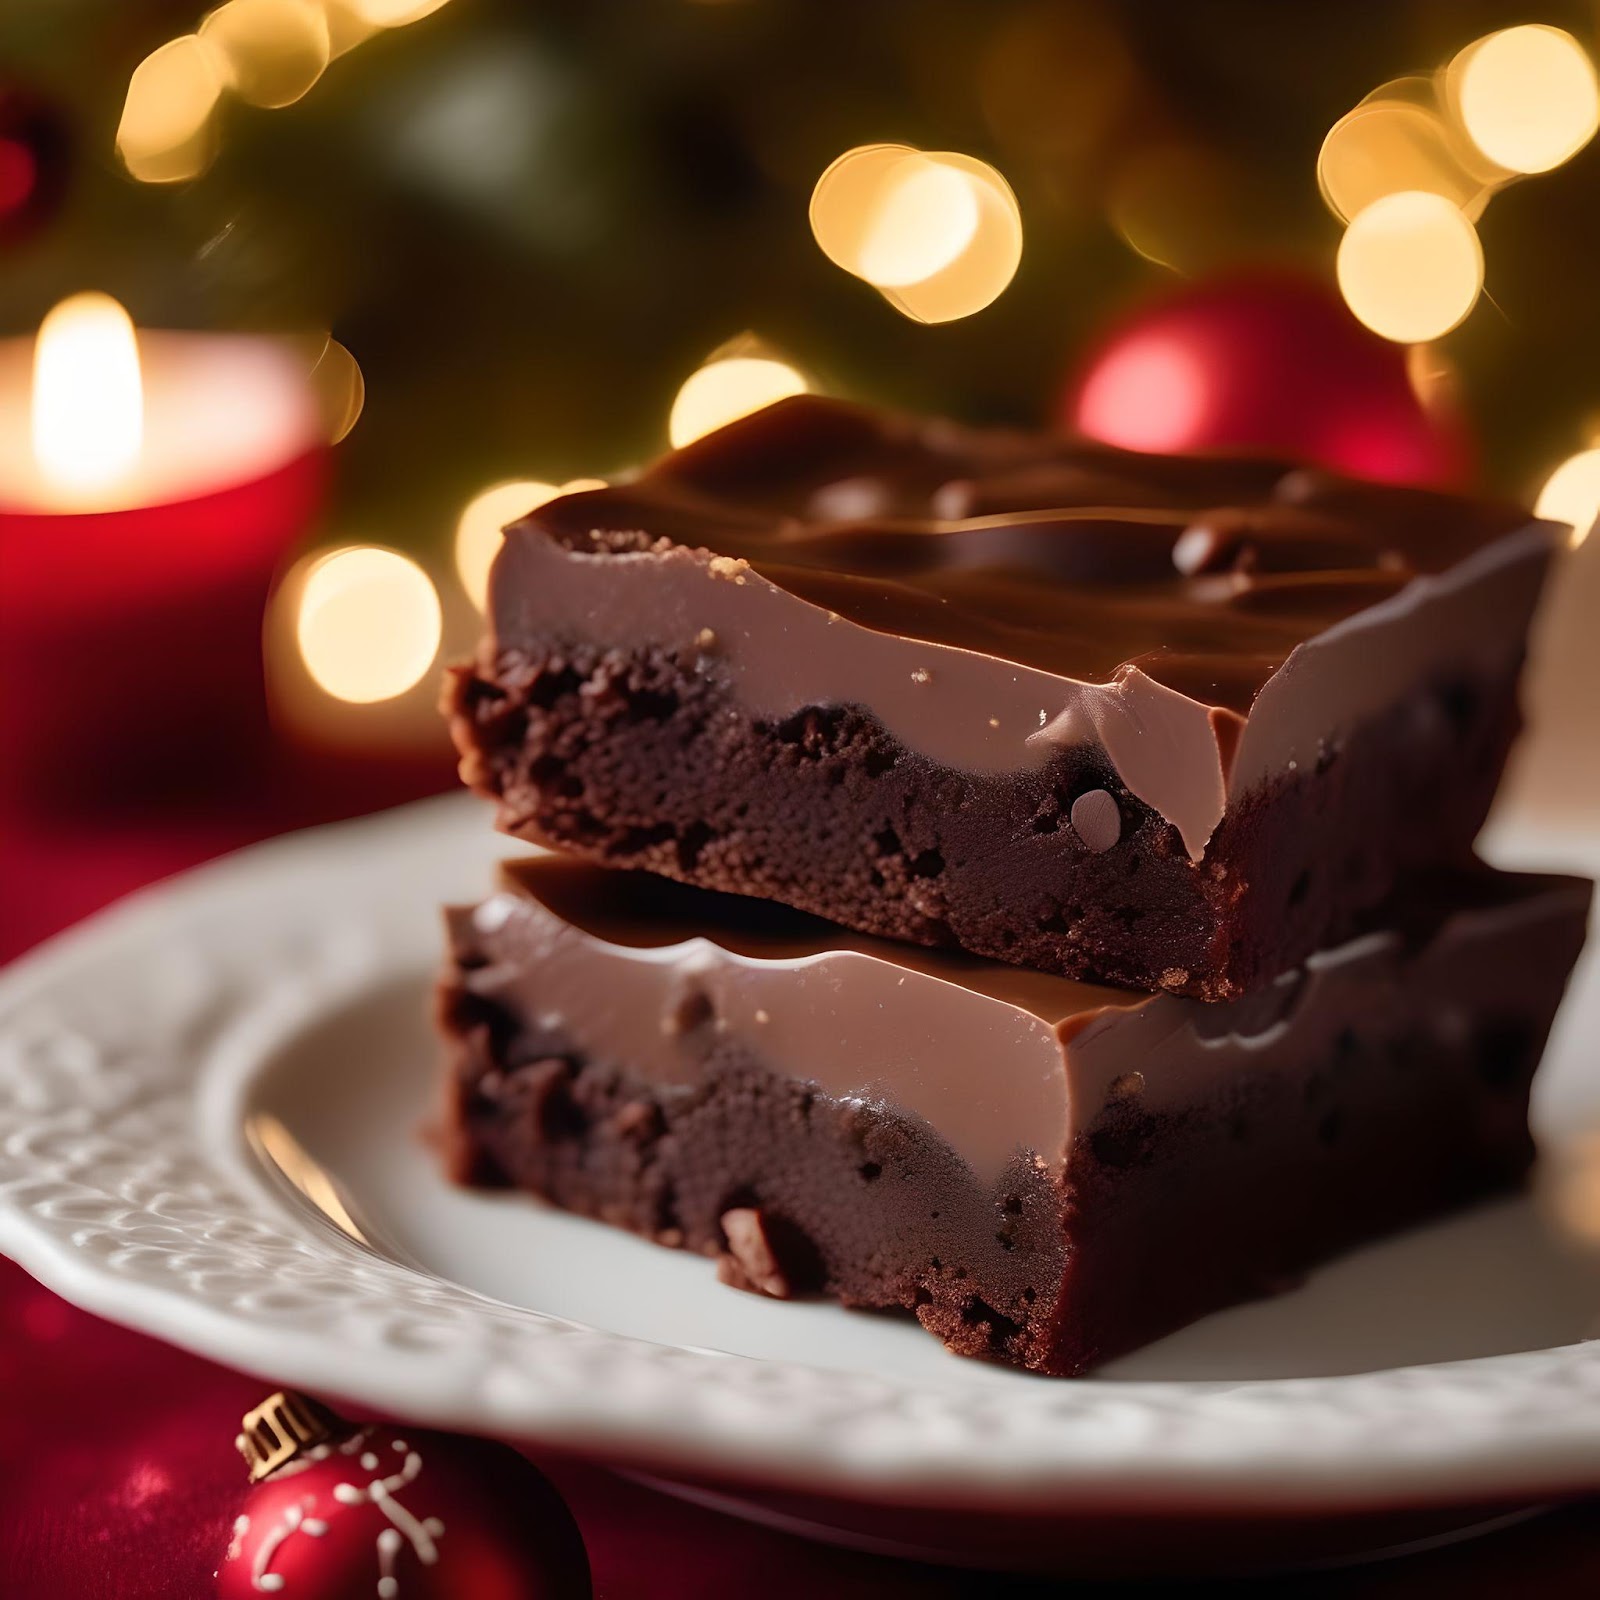
Festive Holiday Fudge
Why Fudge is the Perfect Holiday Treat
The holiday season is upon us, and that means it's time to indulge in some delicious treats. But who has hours to spend in the kitchen? Enter the 5-Minute Festive Holiday Fudge! This delightful confection is not only incredibly easy to make, but it also serves as the perfect sweet treat to bring to holiday gatherings or to give to friends and family. With its smooth and creamy texture, rich chocolatey flavor, and festive charm, this fudge is sure to be a hit with everyone.
Ingredients:
Gathering the Key Ingredients
To whip up a batch of this delectable fudge, you'll need just a handful of simple ingredients. Make sure you have the following on hand:
2 cups of chocolate chips (milk, semisweet, or dark, depending on your preference)
1 can of sweetened condensed milk
1 teaspoon of vanilla extract
A pinch of salt
Optional Ingredients for Customizing Your Fudge
Want to take your fudge to the next level? Get creative with these optional add-ins and toppings:
Chopped nuts (walnuts, almonds, or pecans)
Dried fruits (cherries, cranberries, or apricots)
Crushed candy canes or festive sprinkles
Peanut butter swirls (because who doesn't love chocolate and peanut butter together?)
Step-by-Step Instructions for Making the Fudge:
Before we dive into the fudge-making process, let's make sure our baking pan is ready to go. Line an 8x8-inch square pan with parchment paper or foil, leaving some overhang for easy removal later. This will make clean-up a breeze and ensure your fudge doesn't stick.
Measuring and Combining the Ingredients
Now it's time to mix things up! In a microwave-safe bowl (or a saucepan if you prefer the stovetop method), combine the chocolate chips and sweetened condensed milk. Pop it in the microwave (or heat it on low on the stove) and gently melt the mixture, stirring every 30 seconds until it's smooth and velvety. Be careful not to burn the chocolate - we want fudge, not a chocolate disaster!
Microwave or Stove-Top Method
Once your chocolate and condensed milk are perfectly mixed, remove the bowl from the heat (or microwave) and stir in the vanilla extract and a pinch of salt. This will enhance the flavors and bring out the richness of the chocolate. Give it a good stir until everything is well incorporated.
Adding Mix-Ins and Flavor Enhancements
Now comes the fun part - adding your personal touch! If you're going for a classic fudge, you can skip this step. But why not take it up a notch? Stir in your favorite mix-ins like chopped nuts, dried fruits, or crushed candy canes. Get creative and let your taste buds lead the way!
Creative Variations and Additions to the Basic Recipe
Adding Nuts, Dried Fruits, or Candy Pieces
Looking to add some crunch and texture to your fudge? Go nuts with a handful of chopped walnuts, almonds, or pecans. For a burst of fruity goodness, toss in some dried cranberries, cherries, or apricots. And if you're feeling whimsical, sprinkle crushed candy canes or your favorite festive sprinkles on top of the fudge for a touch of holiday magic.
Exploring Different Chocolate Types and Flavors
Who said fudge had to be made with just one type of chocolate? Experiment with different varieties like milk, semisweet, or dark chocolate to find your favorite combination. You can even mix and match to create a marbled effect. And if you really want to get fancy, try flavored chocolate chips like mint, caramel, or even white chocolate.
Experimenting with Extracts and Spices
To truly elevate your fudge game, consider adding extracts or spices. A dash of peppermint extract will transport your taste buds to a winter wonderland. If you're a fan of warm and cozy flavors, try stirring in a sprinkle of cinnamon or a pinch of nutmeg. The possibilities are endless, so don't be afraid to get a little adventurous.
Now that you have the inside scoop on how to make this indulgent 5-Minute Festive Holiday Fudge, it's time to roll up your sleeves and get cooking. With its simplicity and versatility, you'll have a crowd-pleasing treat that will make you the star of any holiday gathering. So go ahead, whip up a batch and enjoy the sweet satisfaction of fudge made easy!5. Tips for Perfecting Your Fudge Texture and Flavor
Avoiding Common Mistakes
Making fudge can be a breeze, but there are a few pitfalls to watch out for. First, be sure to use a candy thermometer to accurately measure the temperature of your fudge mixture. This will ensure that it reaches the perfect consistency. Also, avoid stirring too vigorously, as this can introduce unwanted air bubbles into your fudge.
Getting the Consistency Just Right
The key to fantastic fudge is achieving the perfect balance between firmness and creaminess. To achieve a smooth texture, be patient and allow your fudge mixture to cool undisturbed. If it's too soft, let it set for a bit longer. If it's too firm, a quick zap in the microwave can help soften it up.
Enhancing the Flavor Profile
While basic chocolate fudge is divine, why not take it up a notch? You can add a variety of flavorings to your fudge, such as peppermint extract, toasted nuts, or even a splash of your favorite liqueur. Get creative and experiment with different flavor combinations to make your holiday fudge truly unique.
Presentation and Packaging Ideas for Gifting Fudge
Choosing the Right Containers or Gift Boxes
When it comes to gifting fudge, presentation is key. Consider using cute holiday-themed tins or reusable glass jars to package your fudge. These not only look festive but also keep the fudge fresh for longer. Clear gift boxes with colorful ribbons can also be a great option to showcase your homemade treat.
Decorative Wrapping and Personalization
Once you've chosen your containers, it's time to get creative with the wrapping. You can use colorful tissue paper, festive wrapping paper, or even fabric scraps tied with twine. Adding a personal touch, like a handwritten note or a small ornament, will make your gift even more special.
Adding a Festive Touch with Ribbons and Tags
To give your fudge that extra holiday flair, adorn your packaging with ribbons and tags. Choose ribbons in bright, cheery colors or opt for classic holiday shades like red and green. Don't forget to attach a cute tag with a witty message or heartfelt greeting. It's these little touches that make your gift stand out from the rest.
Storing and Serving the Fudge for Maximum Freshness
Proper Storage Techniques
To keep your fudge fresh and delicious, store it in an airtight container at room temperature. Avoid exposing it to direct sunlight or extreme temperatures, as this can cause it to spoil or become discolored. If you live in a hot climate, you may want to store your fudge in the refrigerator to maintain its quality.
Keeping the Fudge Fresh for an Extended Period
If you're planning to make your fudge ahead of time or want it to last longer, you can freeze it. Wrap individual pieces tightly in plastic wrap or place them in freezer bags. When you're ready to enjoy it, simply thaw it in the refrigerator overnight or let it come to room temperature. The fudge will retain its flavor and texture, ready to be devoured whenever the craving strikes.
Tips for Serving and Displaying the Fudge
When serving your fudge, presentation is everything. Cut it into neat squares or slice it into fun shapes using cookie cutters. Placing the fudge on a decorative serving platter or a tiered dessert stand will add an elegant touch to any holiday gathering. And don't forget to display a little sign or note encouraging your guests to indulge in this delightful treat.
Conclusion and Final Thoughts on 5-Minute Festive Holiday Fudge
In just a few minutes, you can create a delectable batch of holiday fudge that will impress everyone who tries it. With these tips, you'll perfect the texture and flavor, present it beautifully, and ensure its freshness. So go ahead, embrace your inner fudge master and spread the joy of this irresistible holiday treat. Happy fudging!
As the holiday season comes to a close, I hope this article has inspired you to try your hand at making 5-Minute Festive Holiday Fudge. With its quick and easy recipe, customizable variations, and helpful tips, creating this delectable treat has never been more enjoyable. Whether you're treating yourself or gifting it to loved ones, this fudge is sure to bring joy and sweetness to any occasion. So, gather your ingredients, follow the steps, and savor the delightful taste of homemade fudge. Happy holidays and happy fudge-making!
FAQs
1. Can I make this fudge recipe without a microwave?
Yes, absolutely! While the recipe mentions a microwave method, you can also make this fudge on a stovetop. Simply heat the ingredients in a saucepan over low heat, stirring continuously until melted and smooth. The process may take a bit longer, but the result will be just as delicious.
2. Can I make this fudge recipe ahead of time?
Definitely! This fudge can be made ahead of time and stored in an airtight container at room temperature for up to two weeks. You can also refrigerate it for extended freshness. Just make sure to bring it to room temperature before serving to enjoy its full flavor and smooth texture.
3. Can I add my favorite mix-ins and flavors to this fudge?
Absolutely! One of the best things about this fudge recipe is its versatility. Feel free to get creative and add your favorite mix-ins such as nuts, dried fruits, or even candy pieces. Additionally, you can experiment with different chocolate types or flavors and enhance the taste with extracts or spices. The possibilities are endless!
4. How can I package this fudge for gifting?
There are several options for packaging this fudge as a thoughtful gift. Consider using decorative containers, gift boxes, or mason jars. You can also wrap individual pieces in wax paper or cellophane and tie them with festive ribbons or personalized gift tags. Get creative and make it as visually appealing as it is delicious!
Comments
Post a Comment